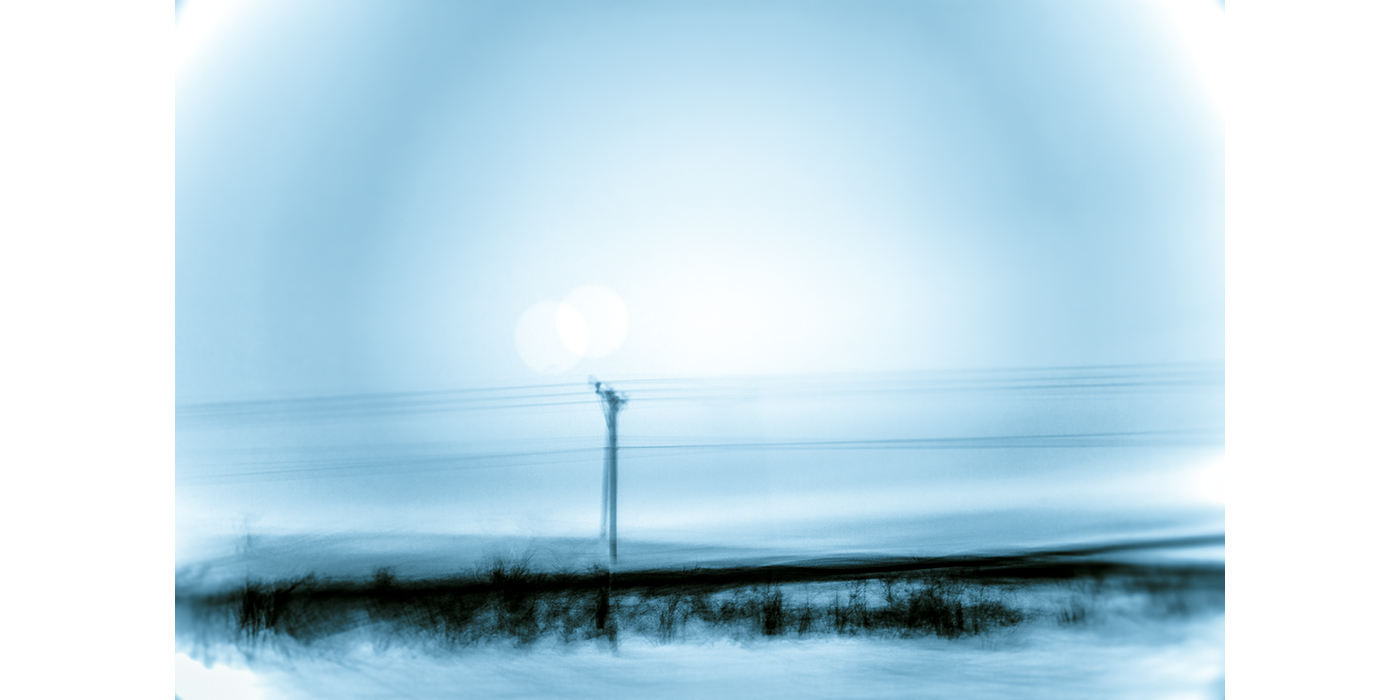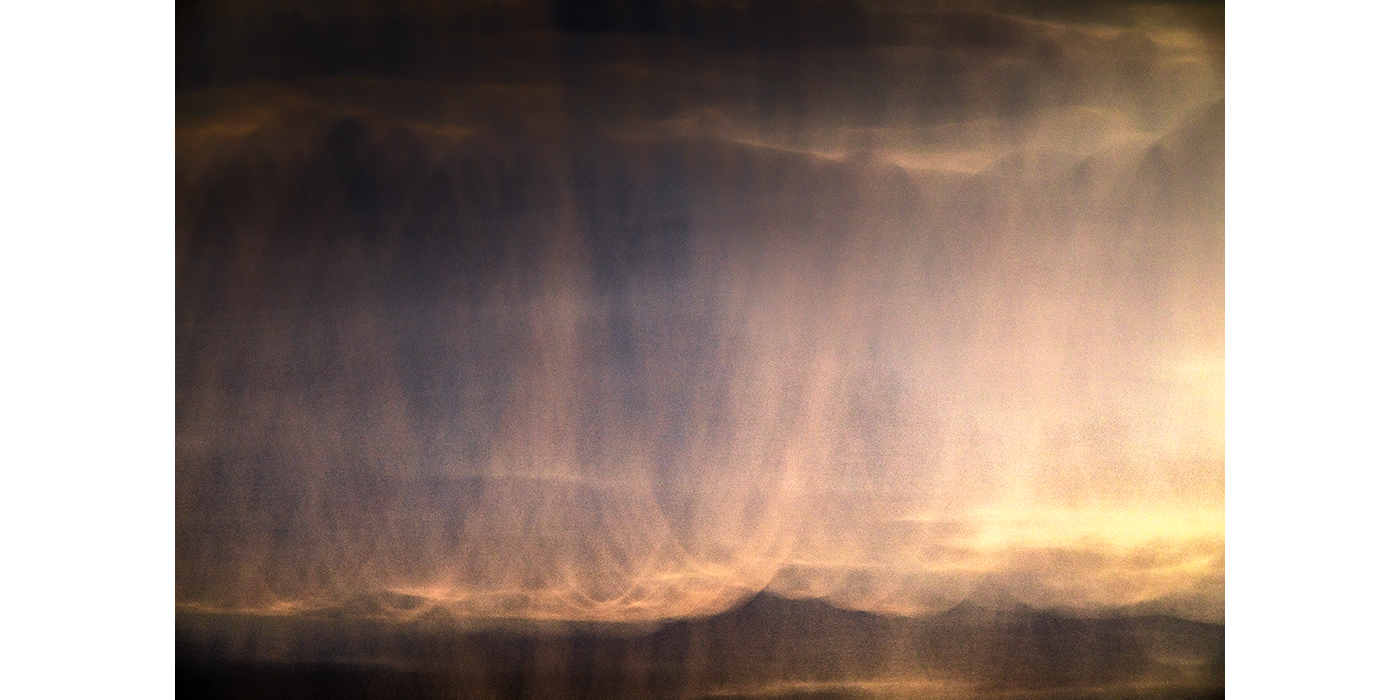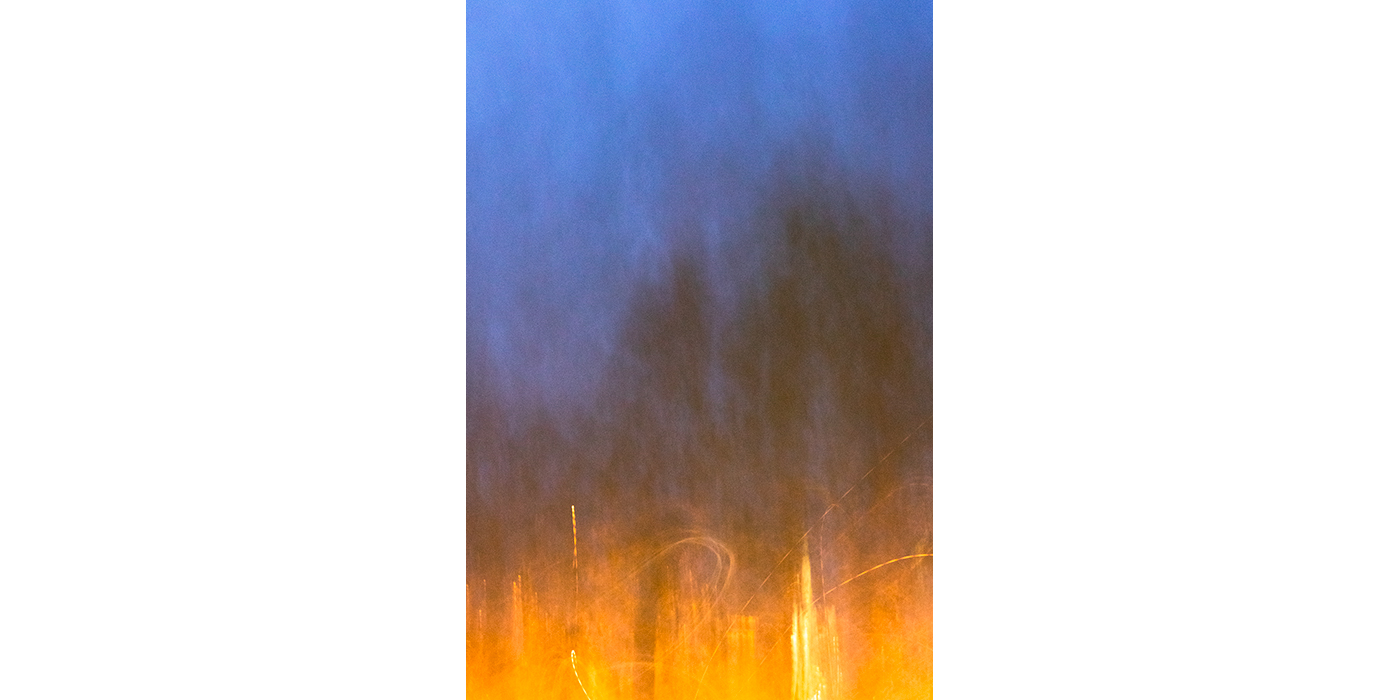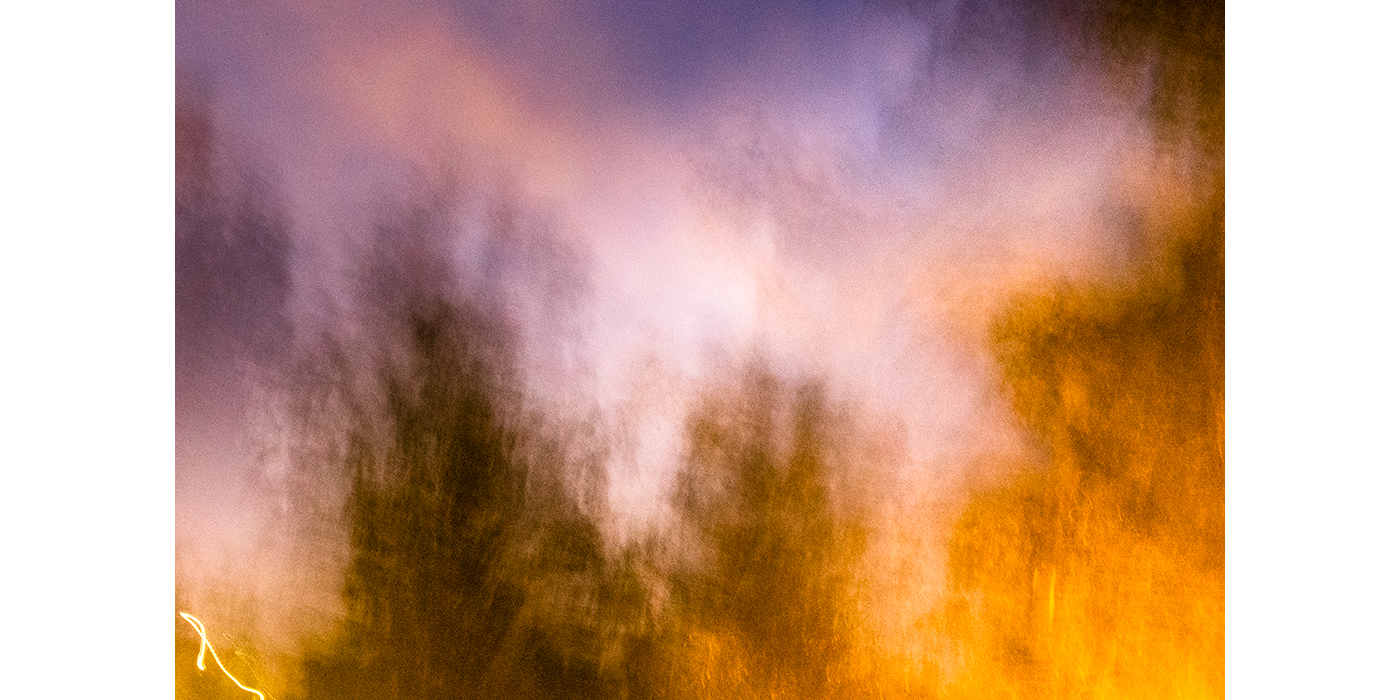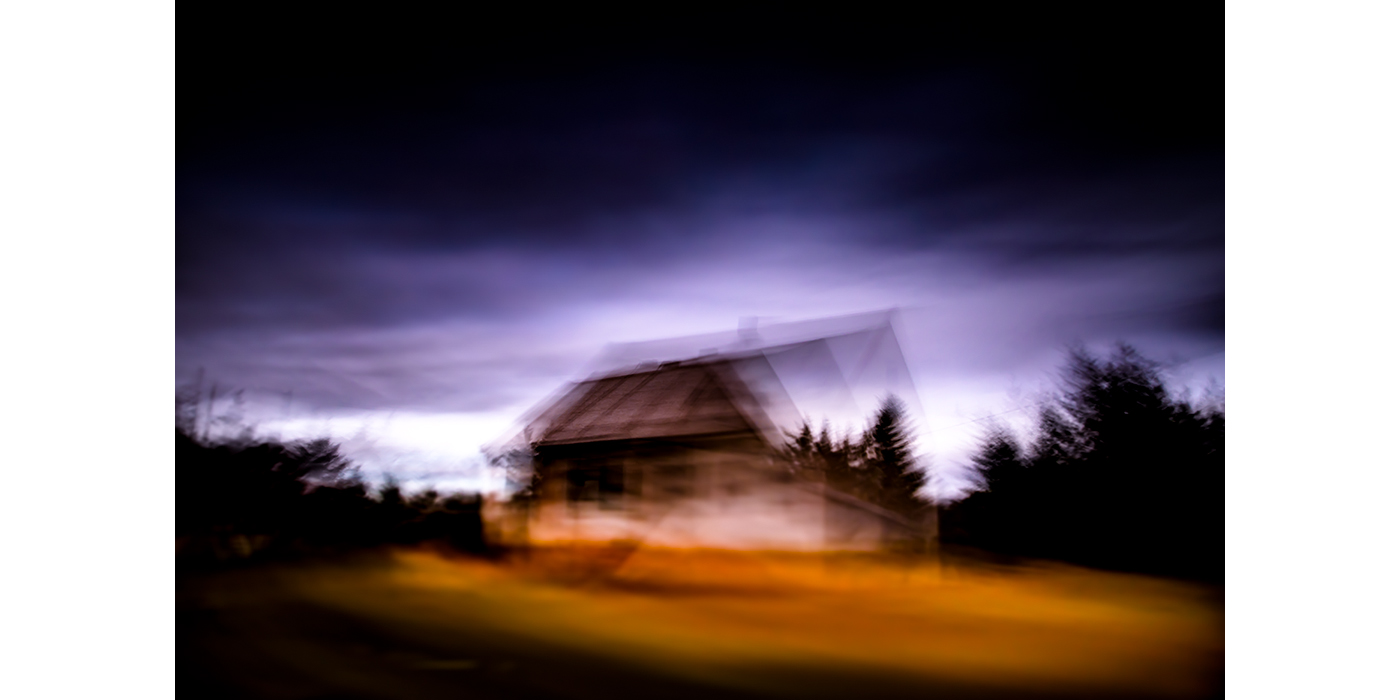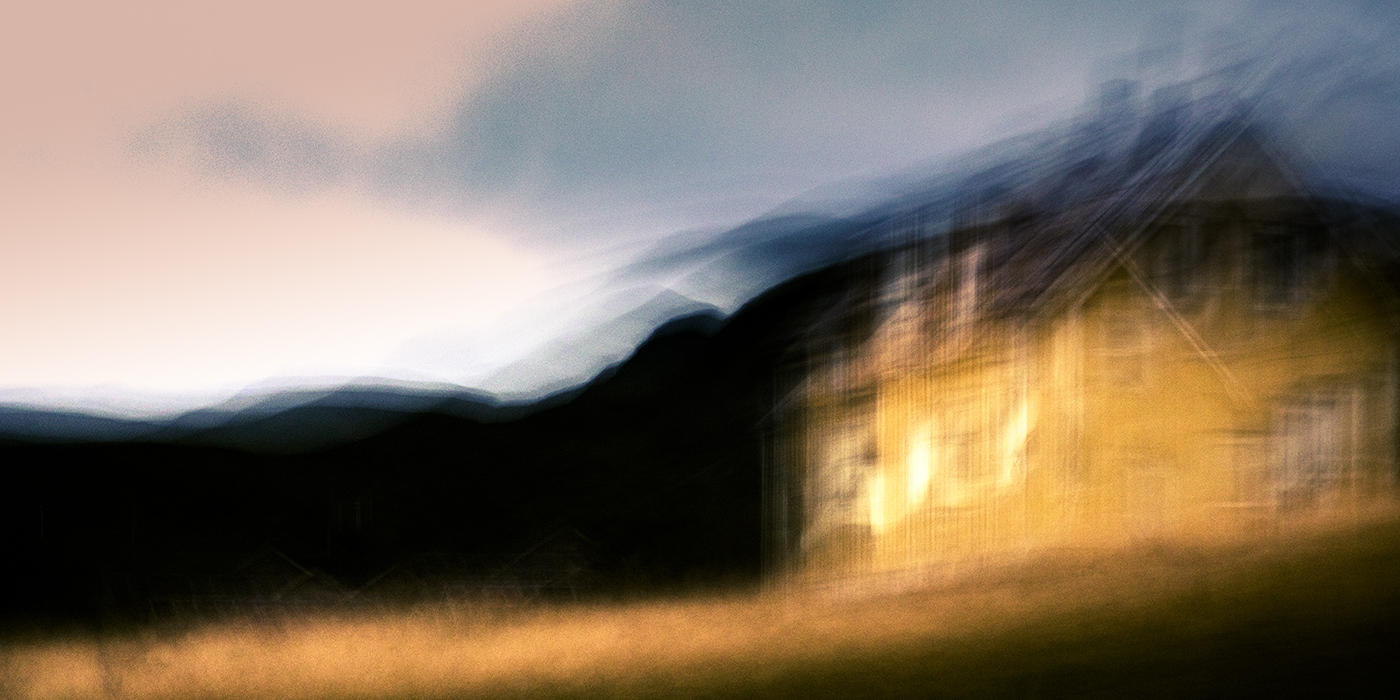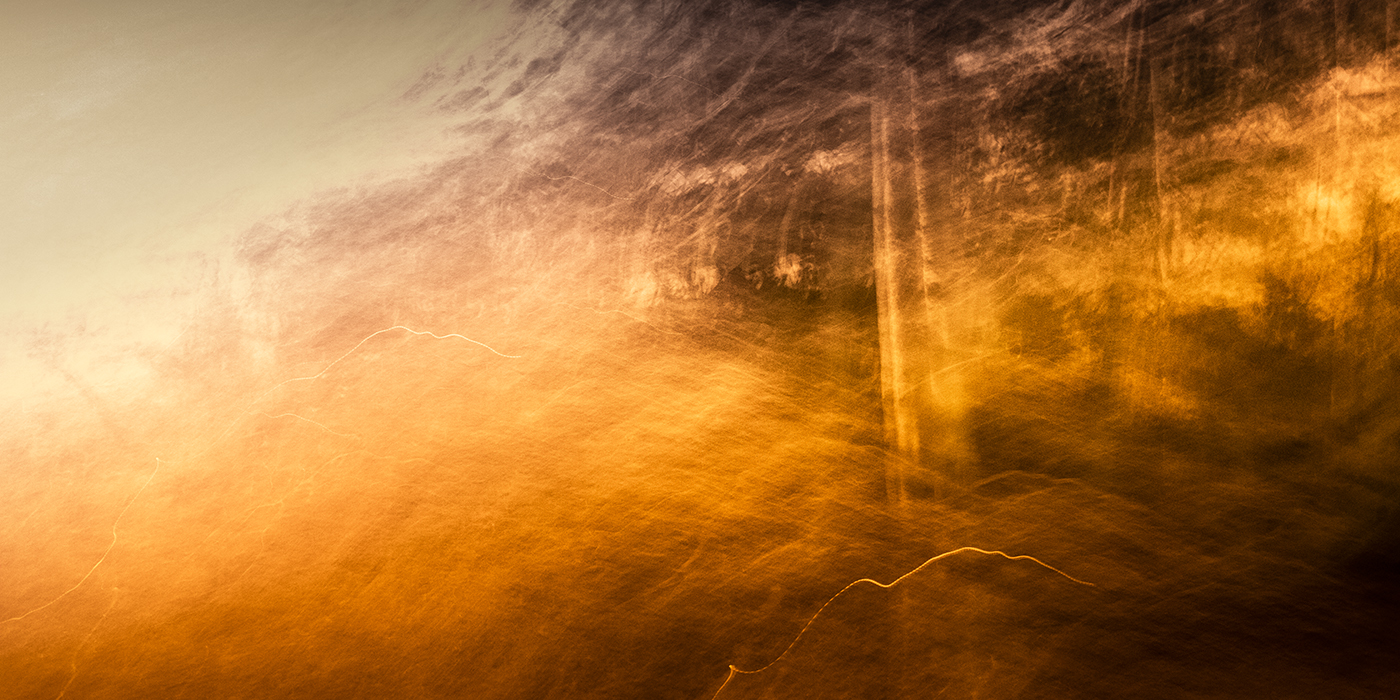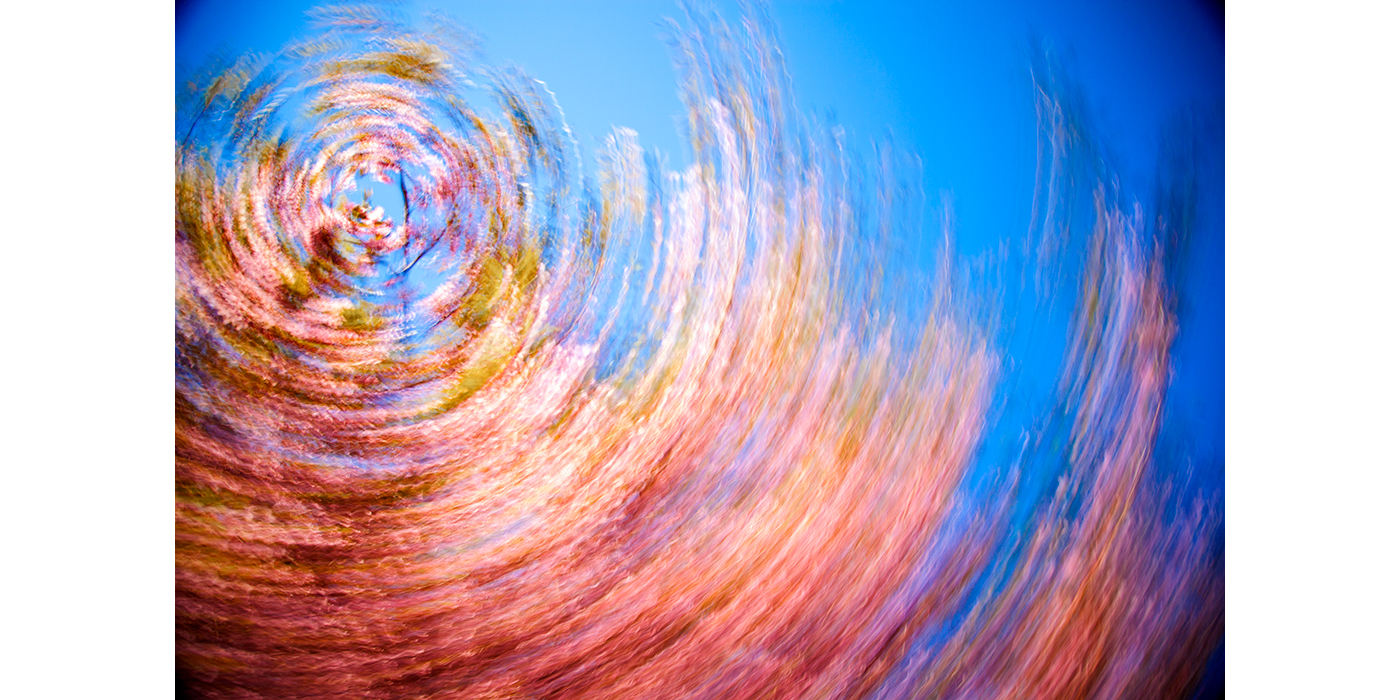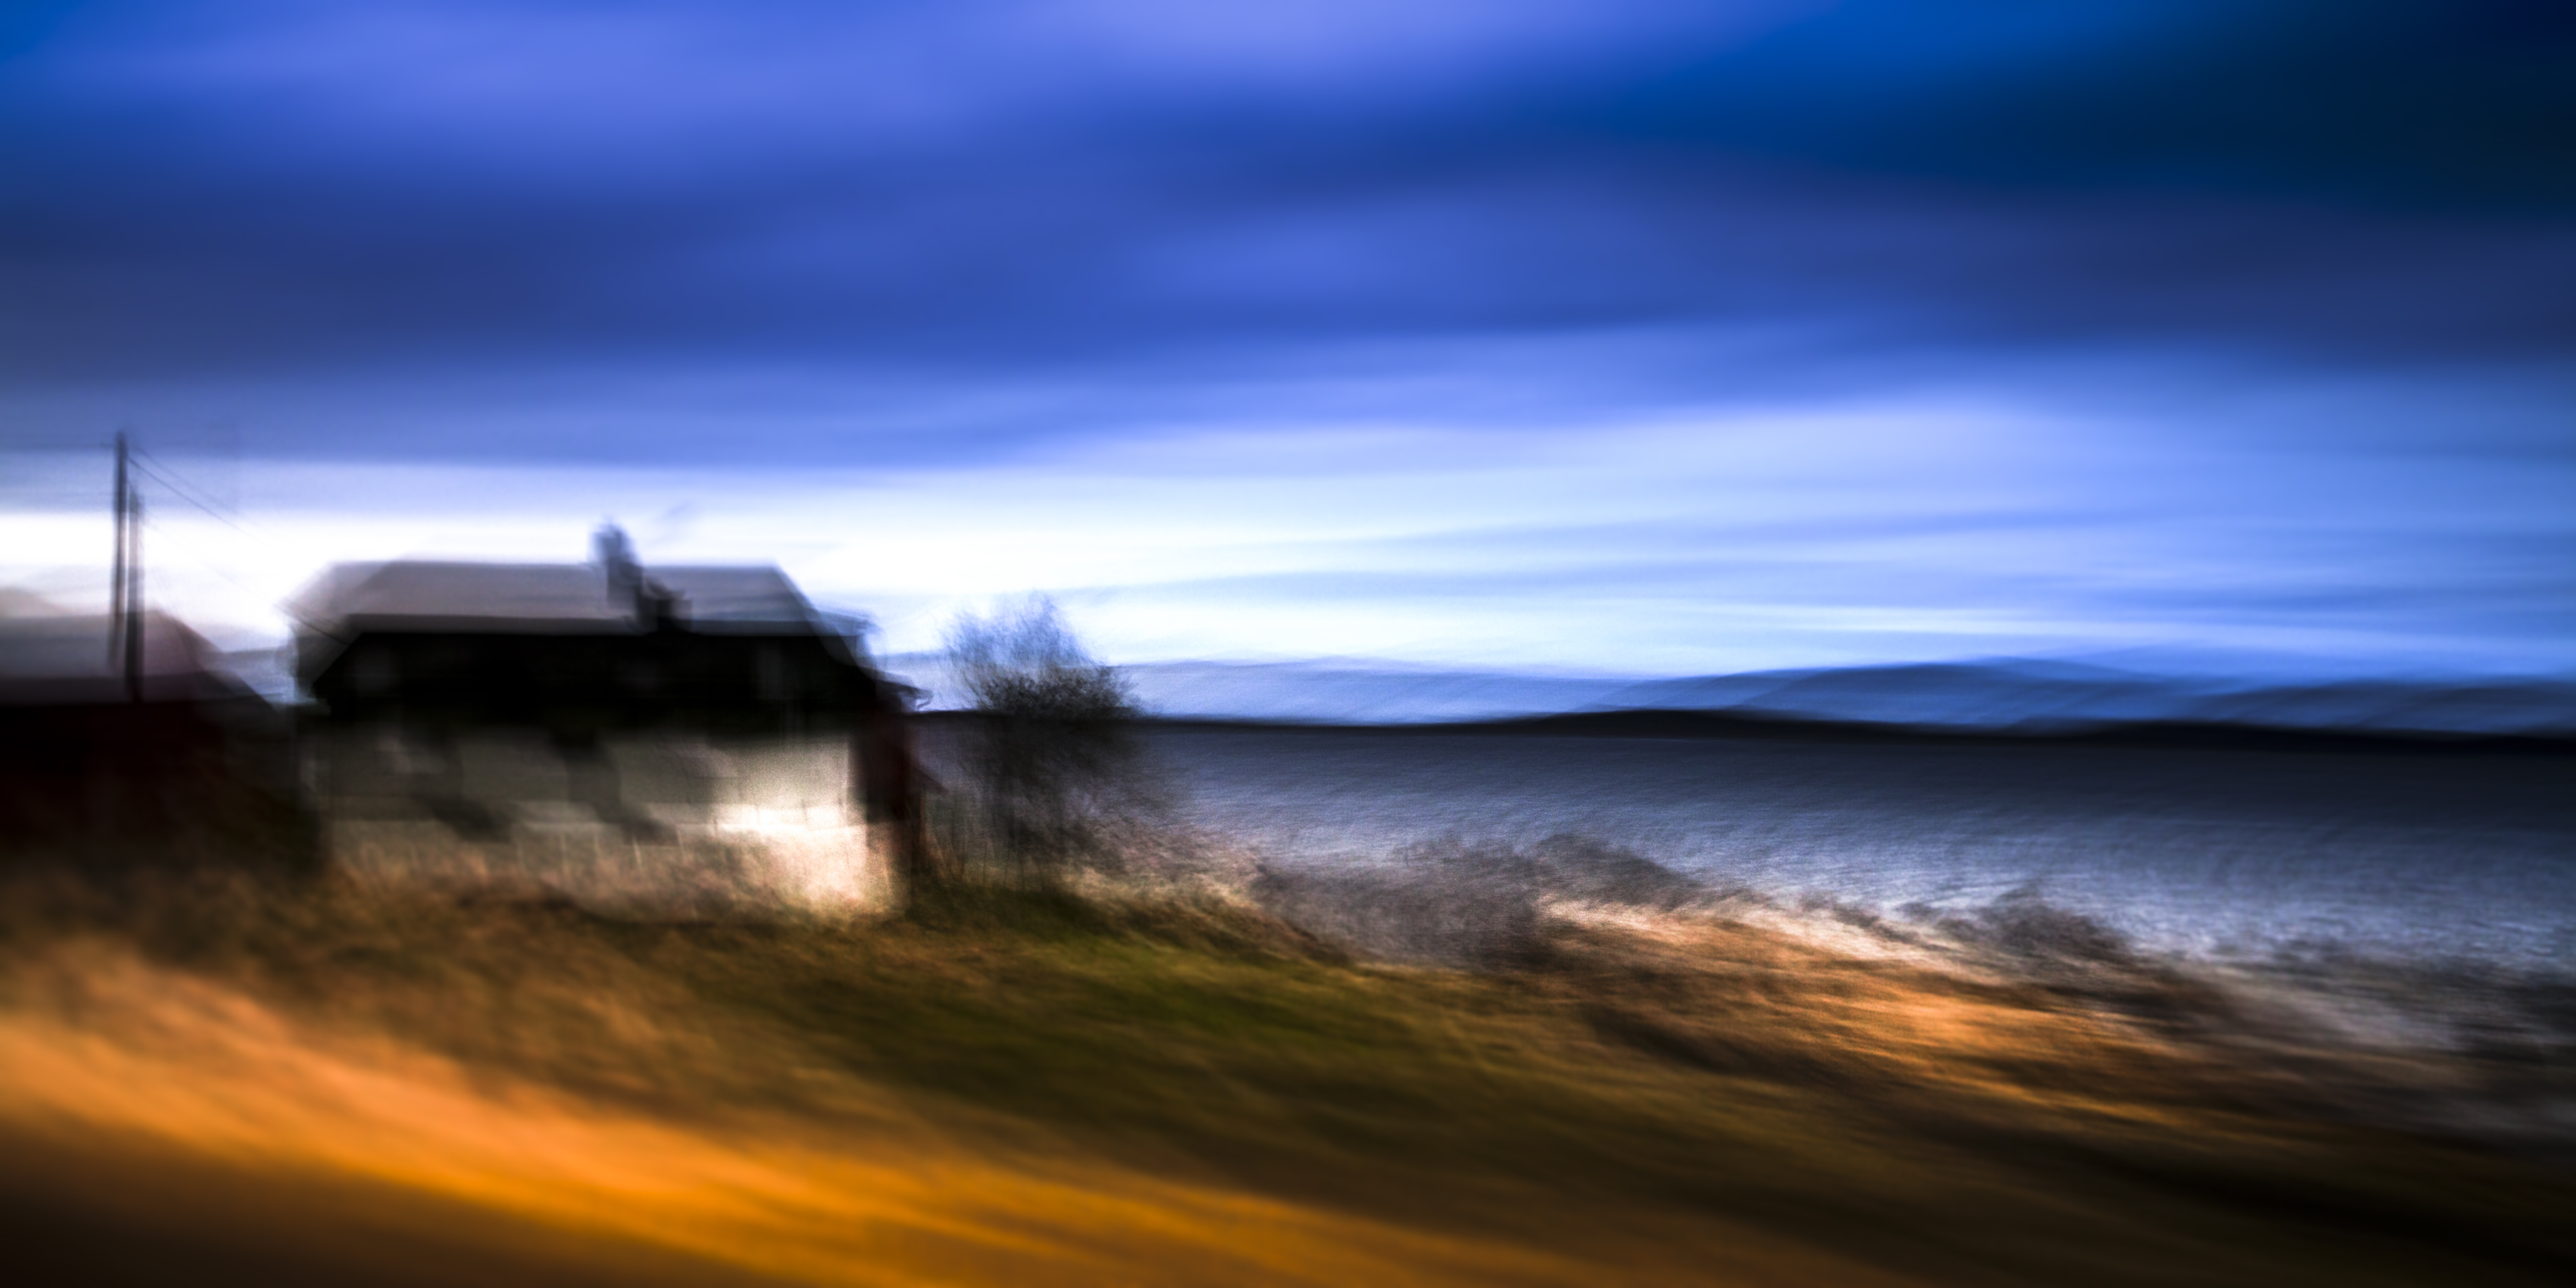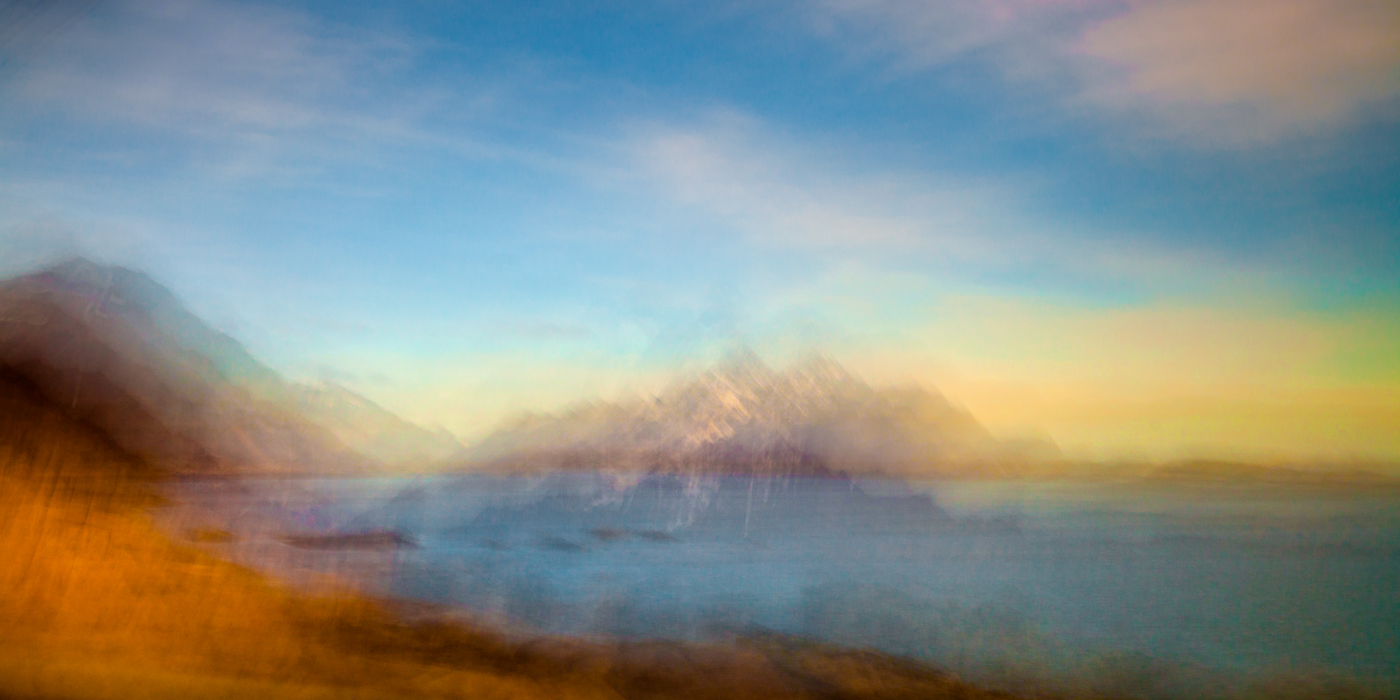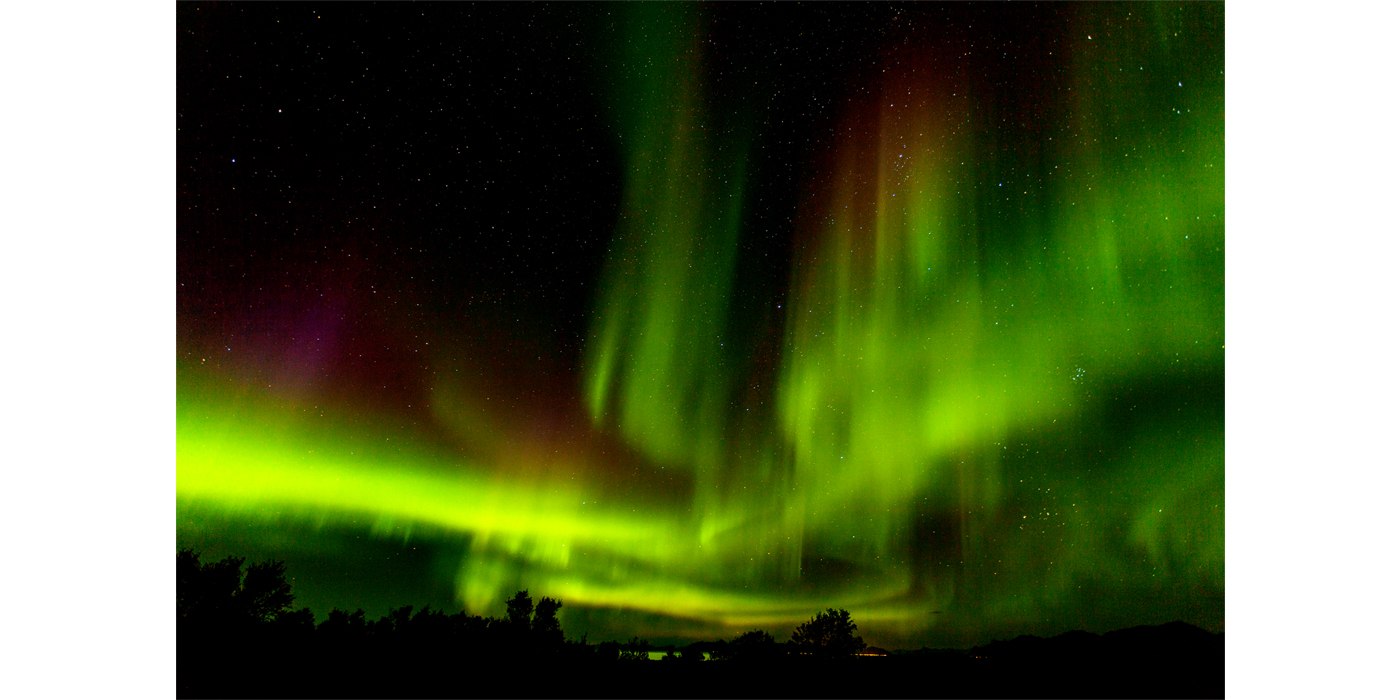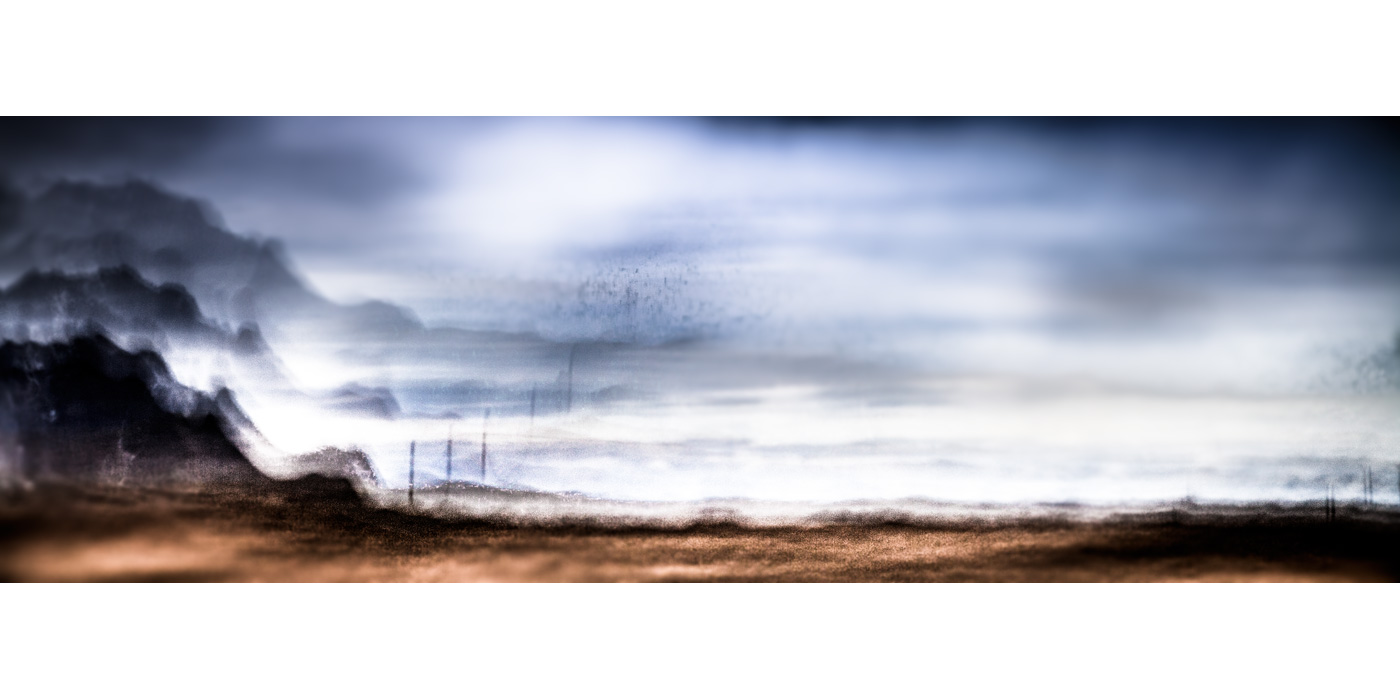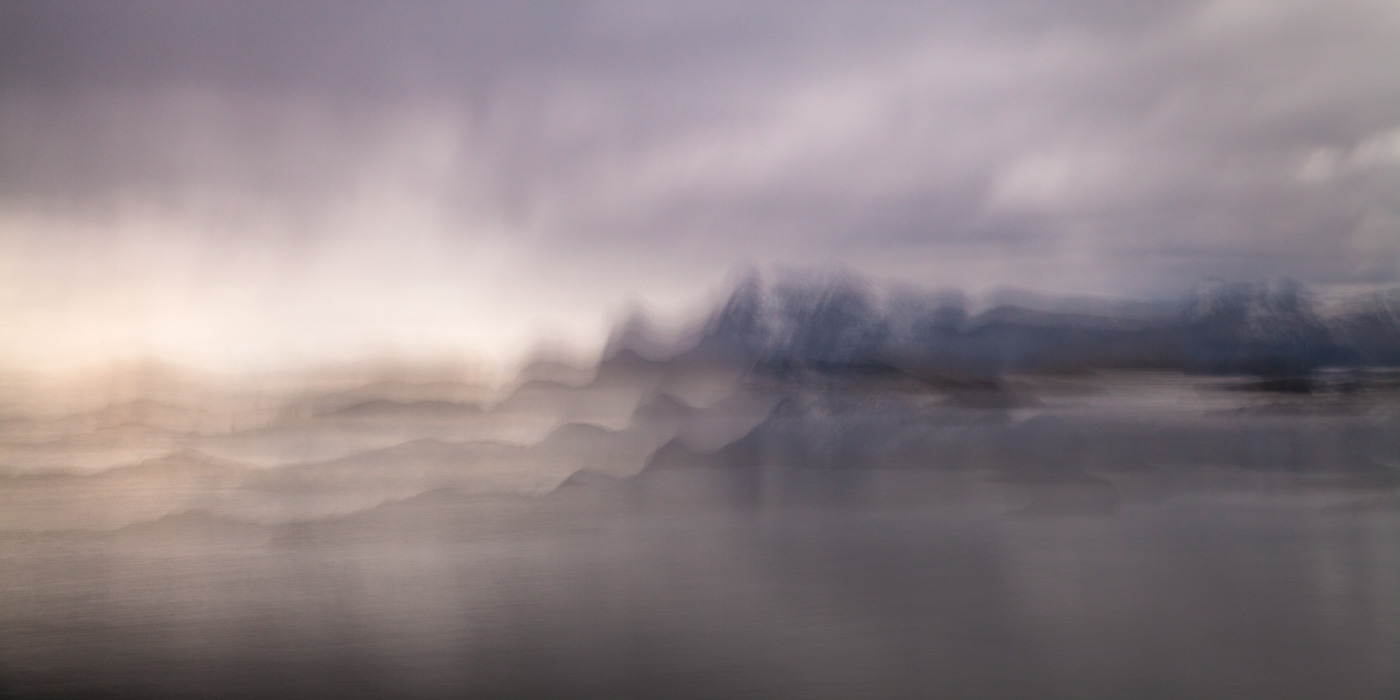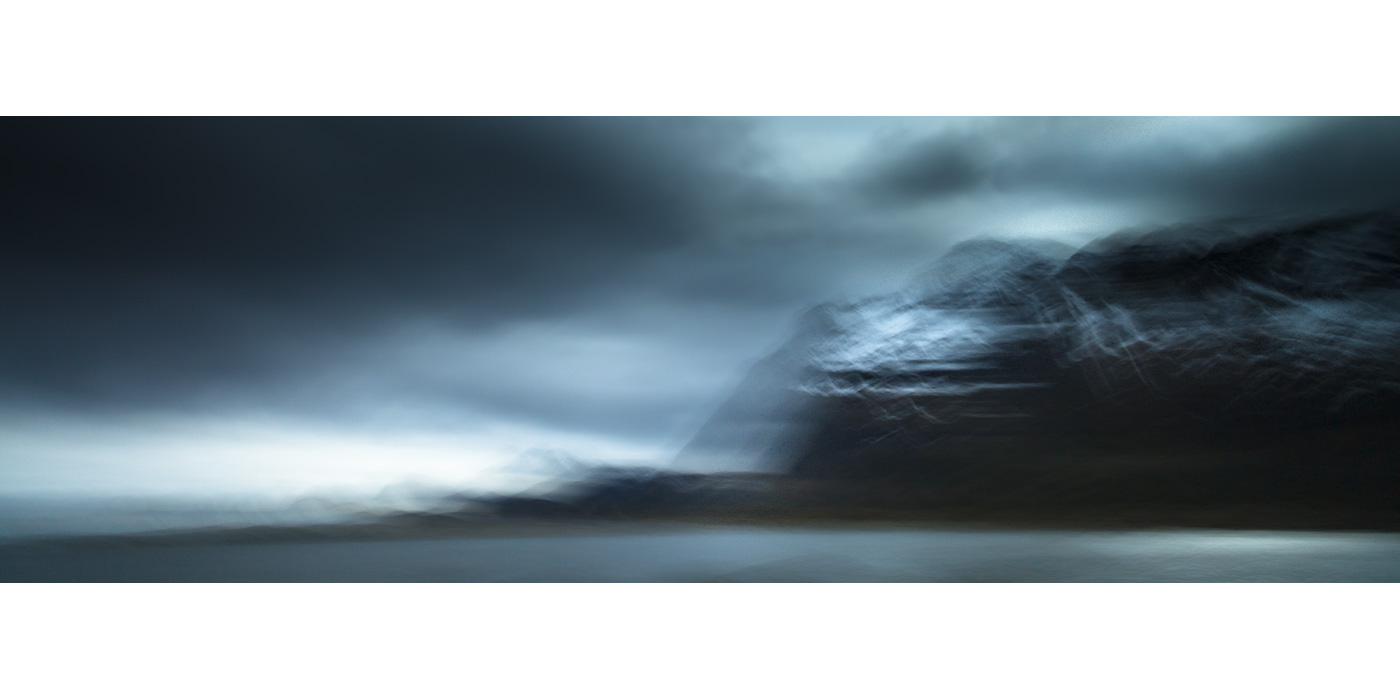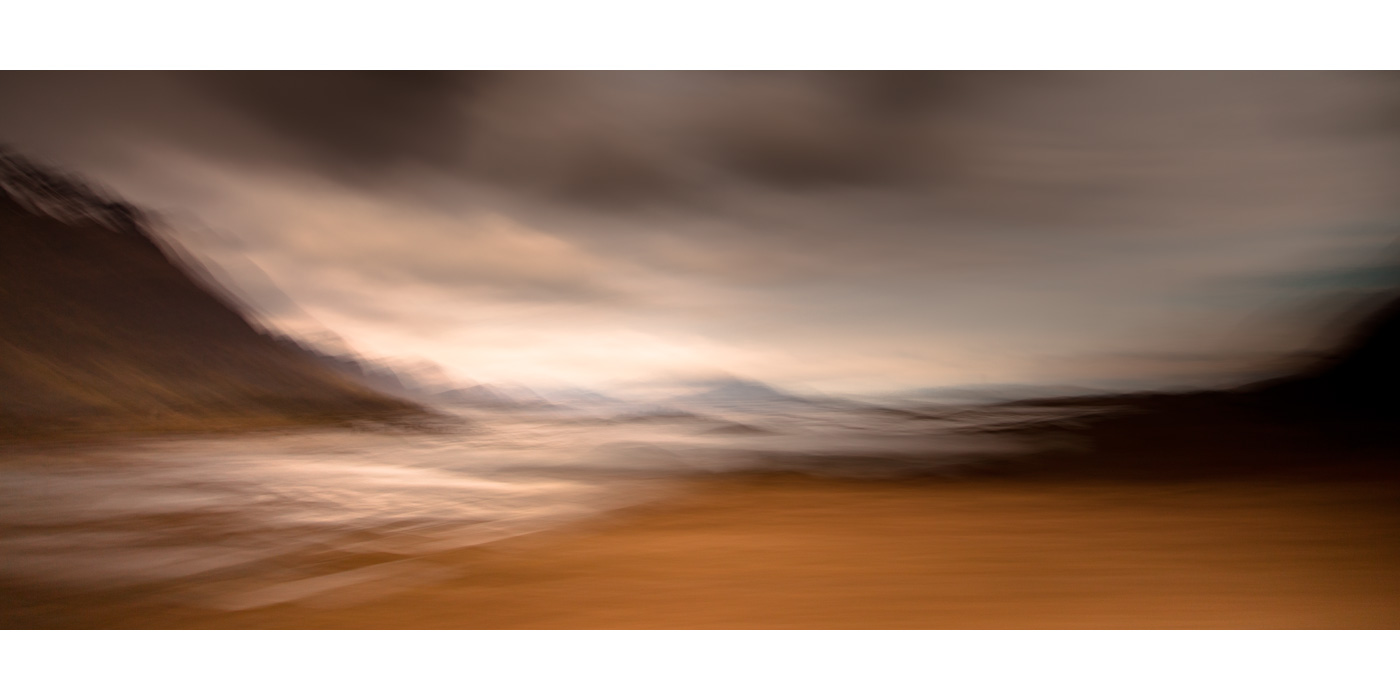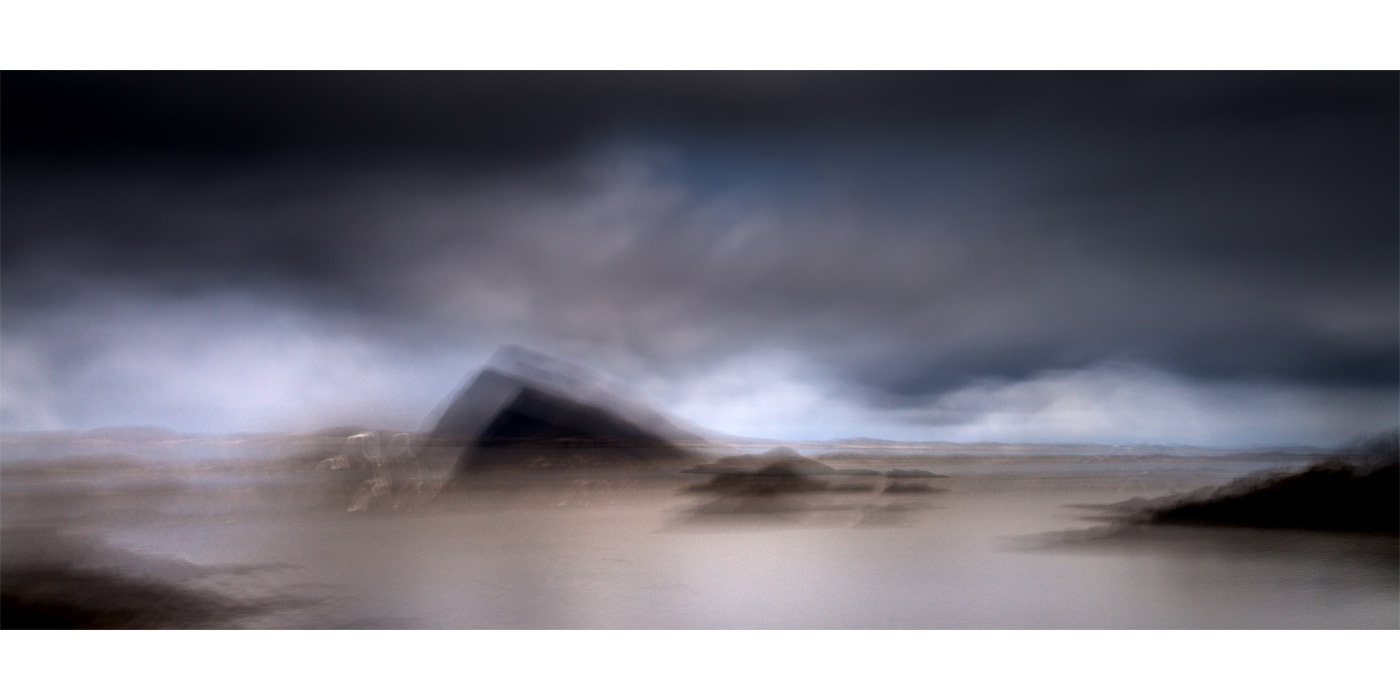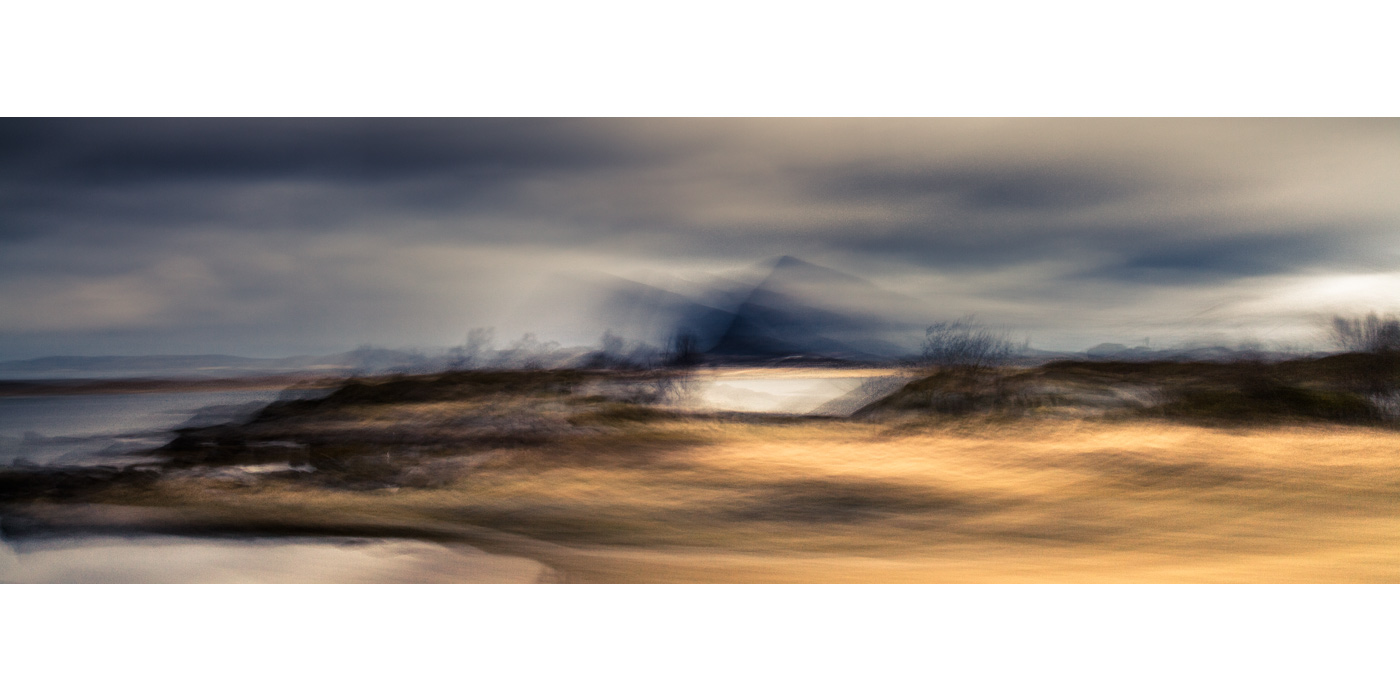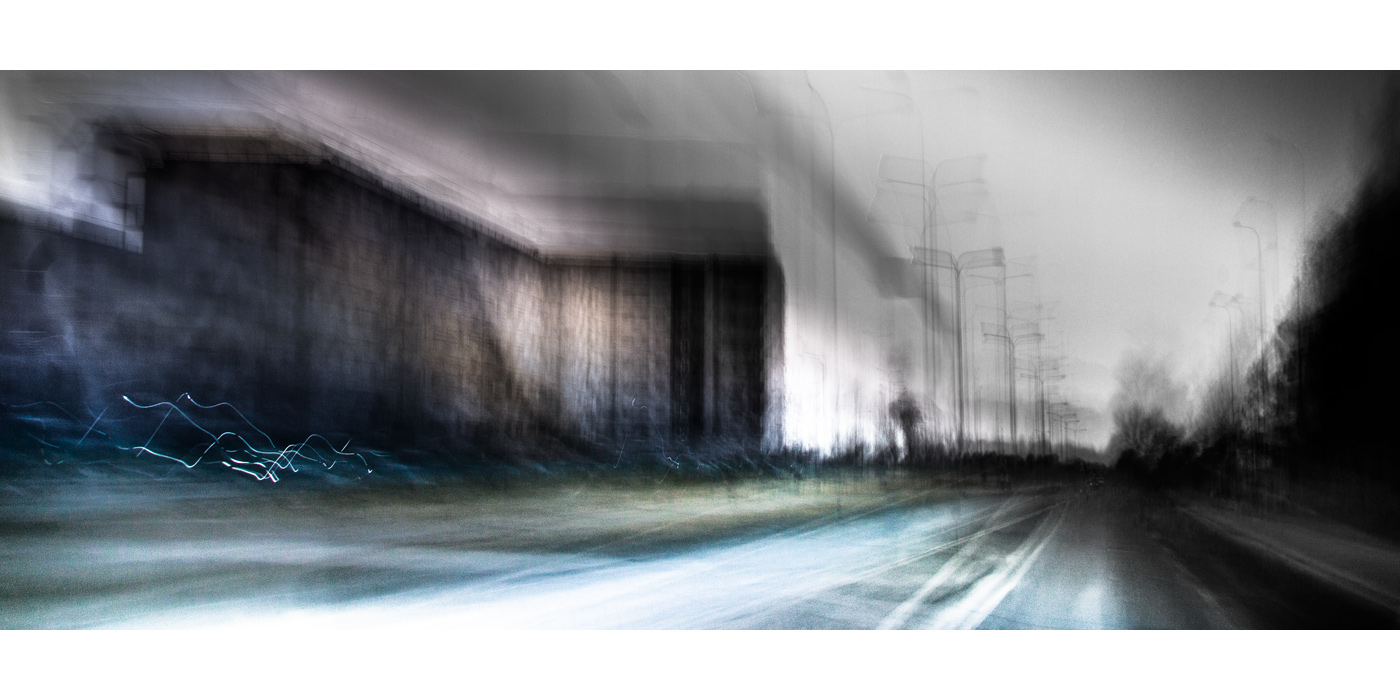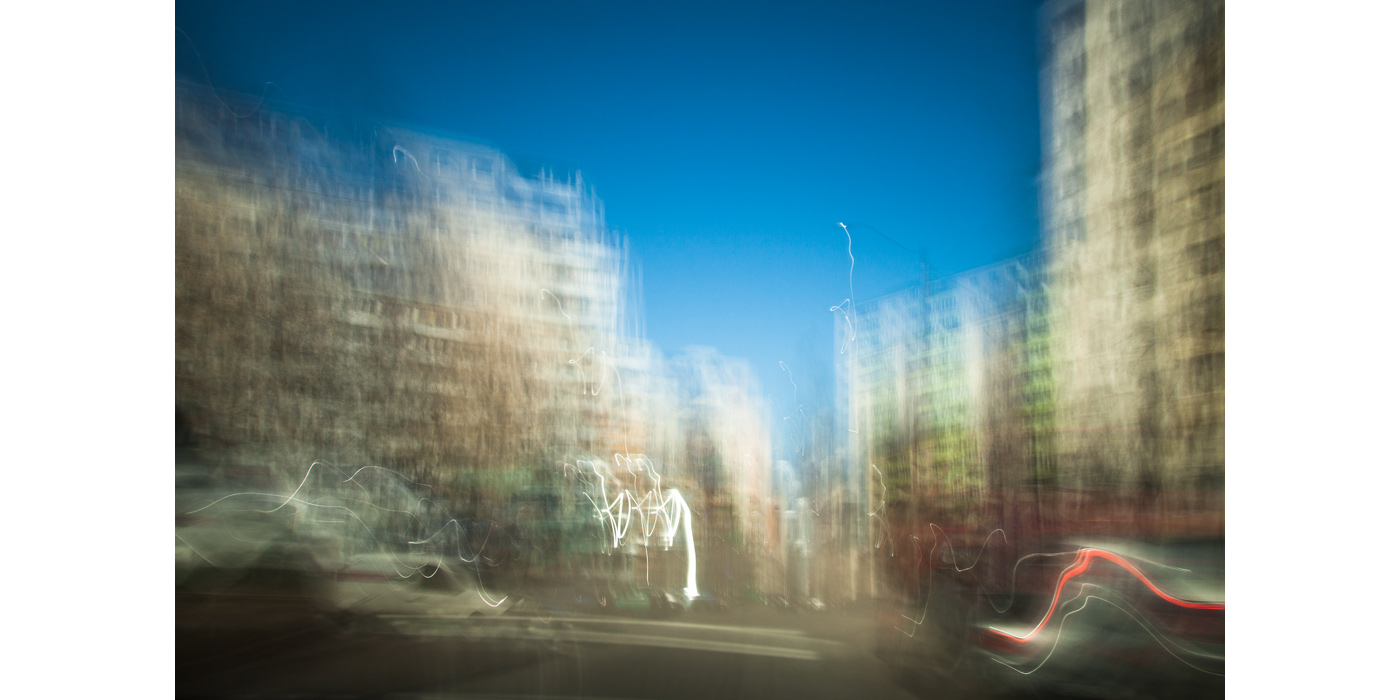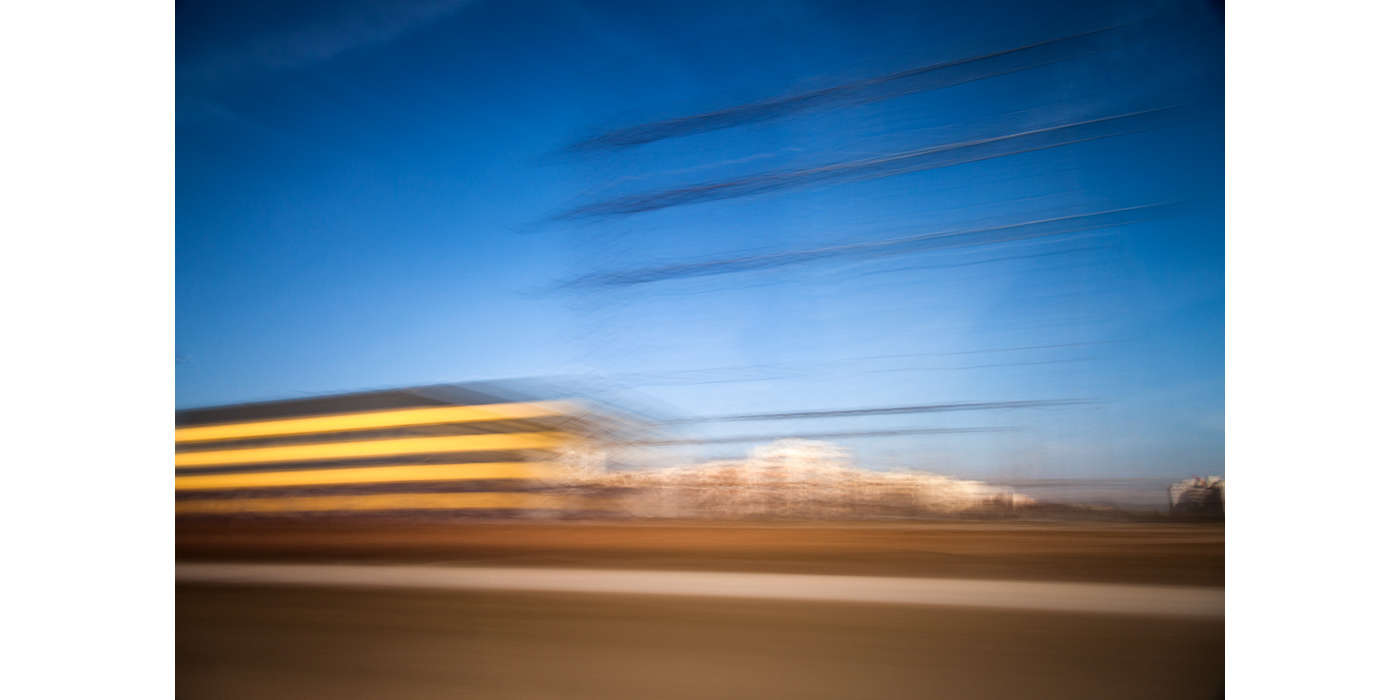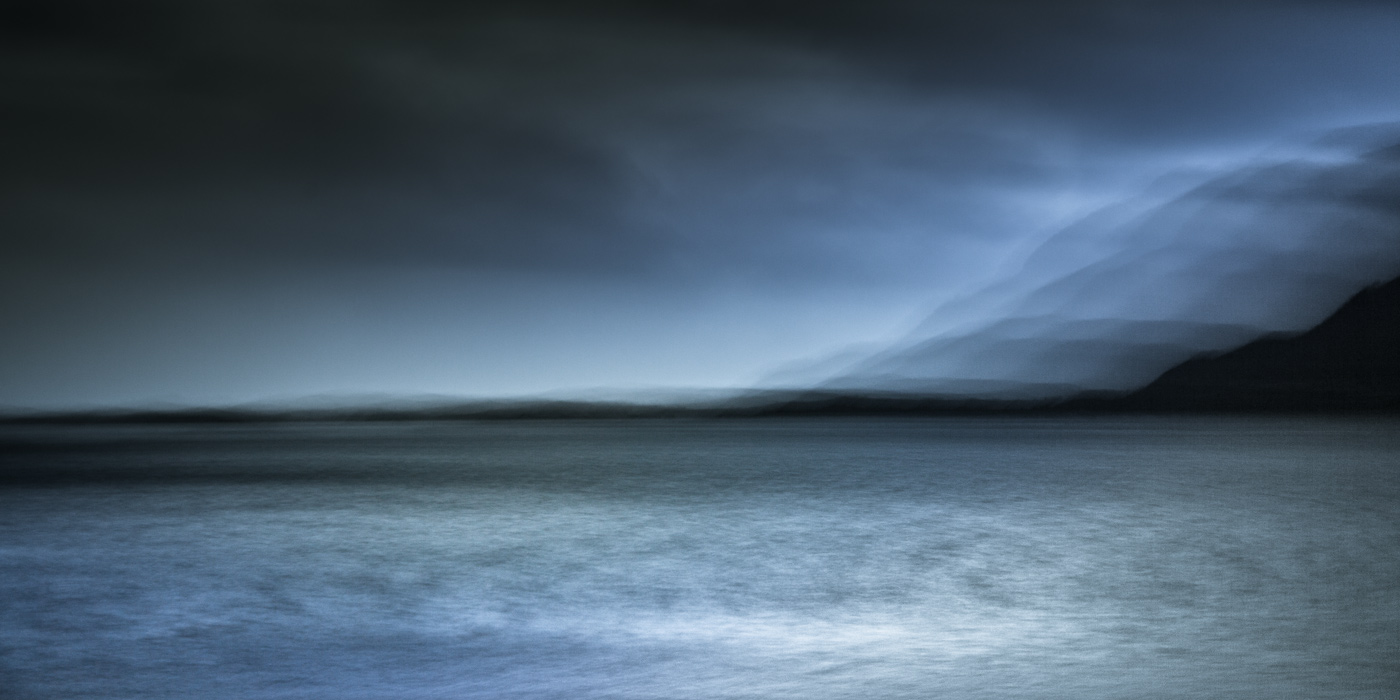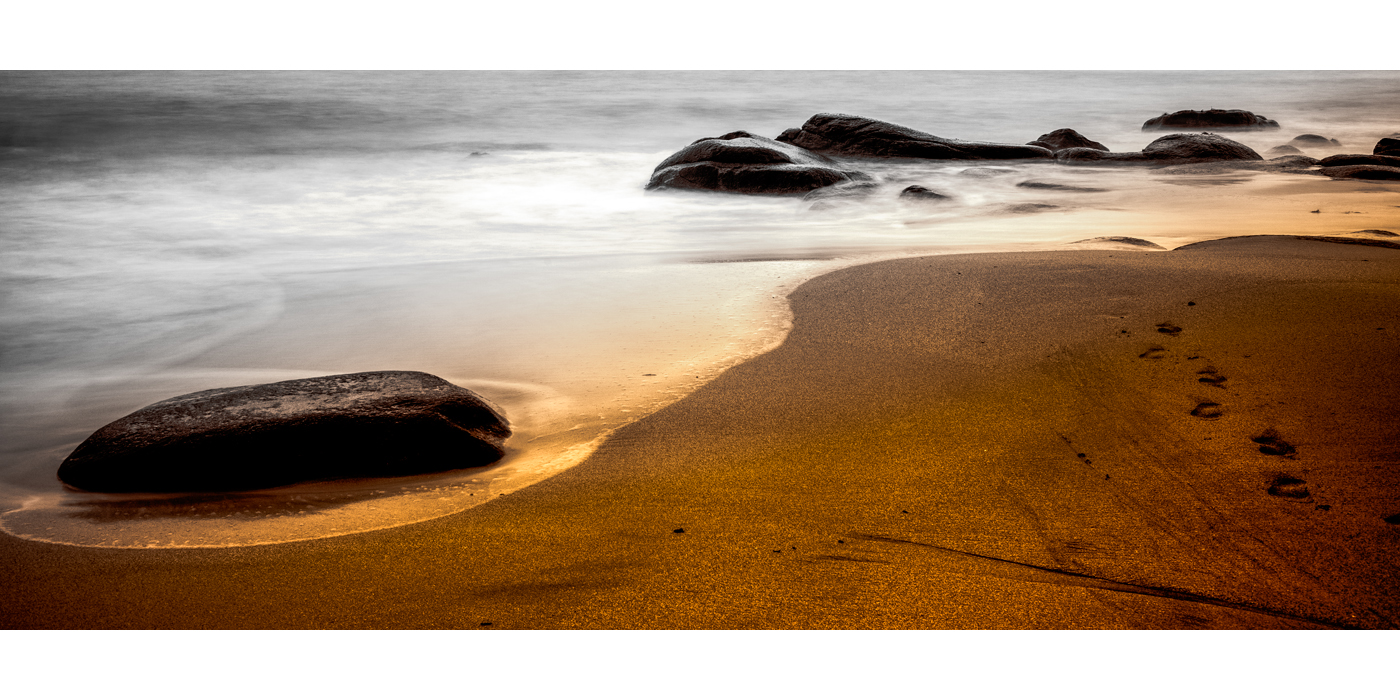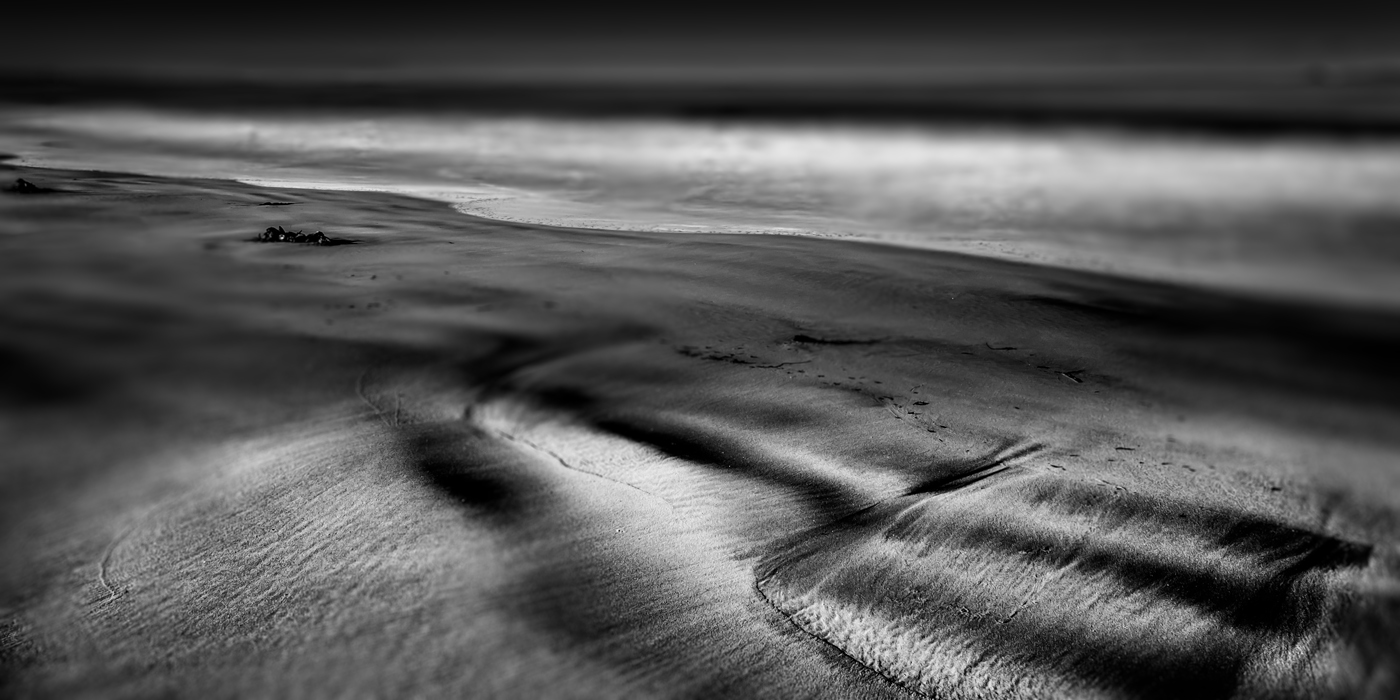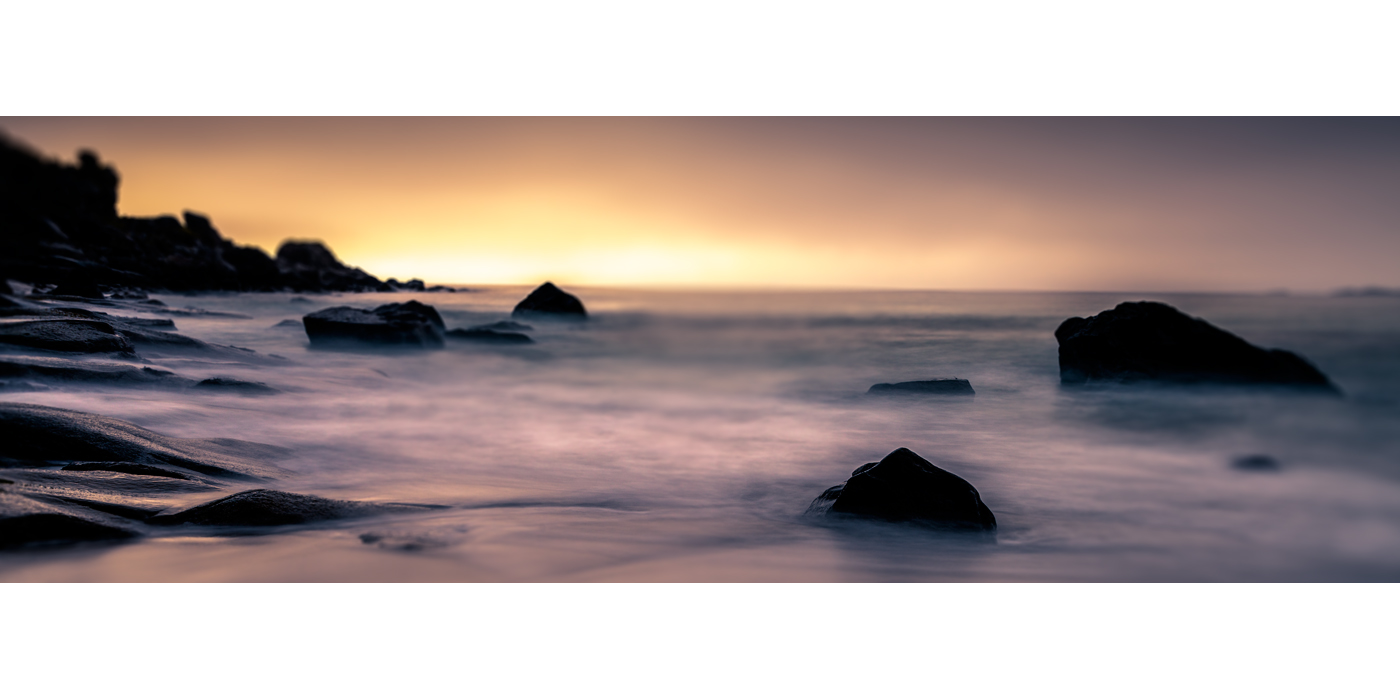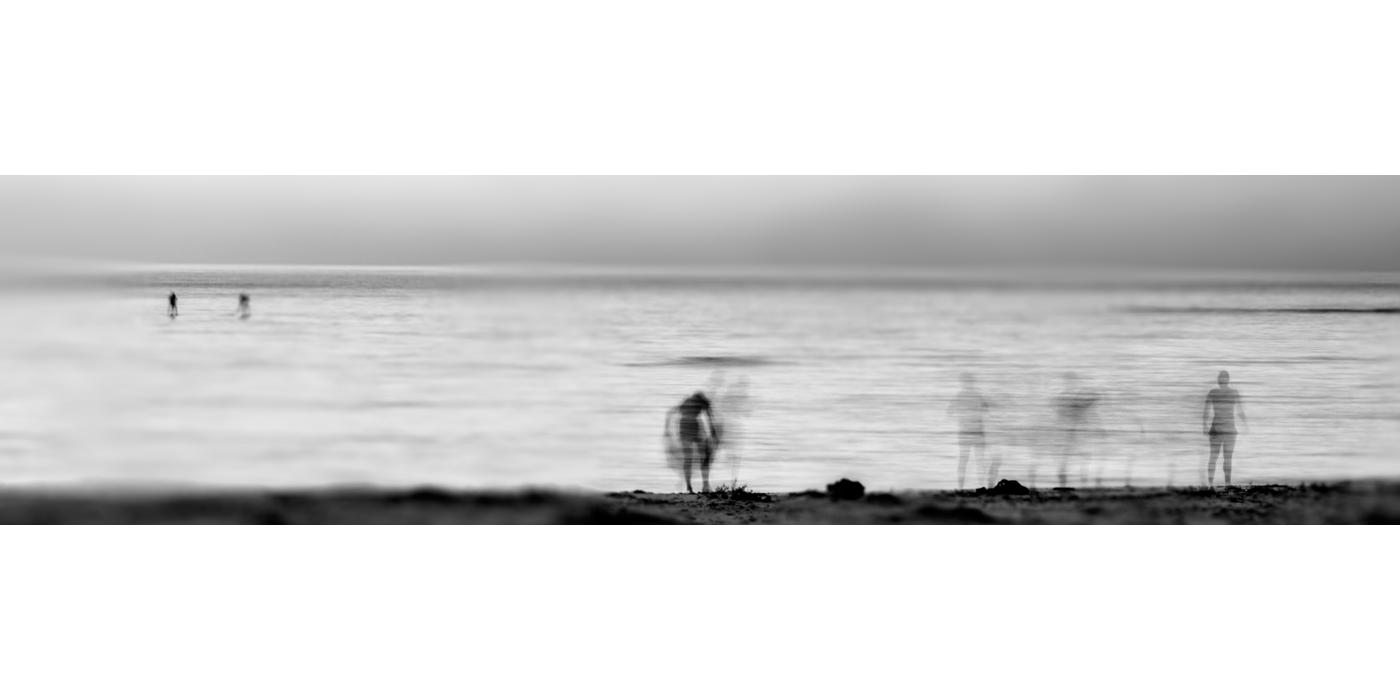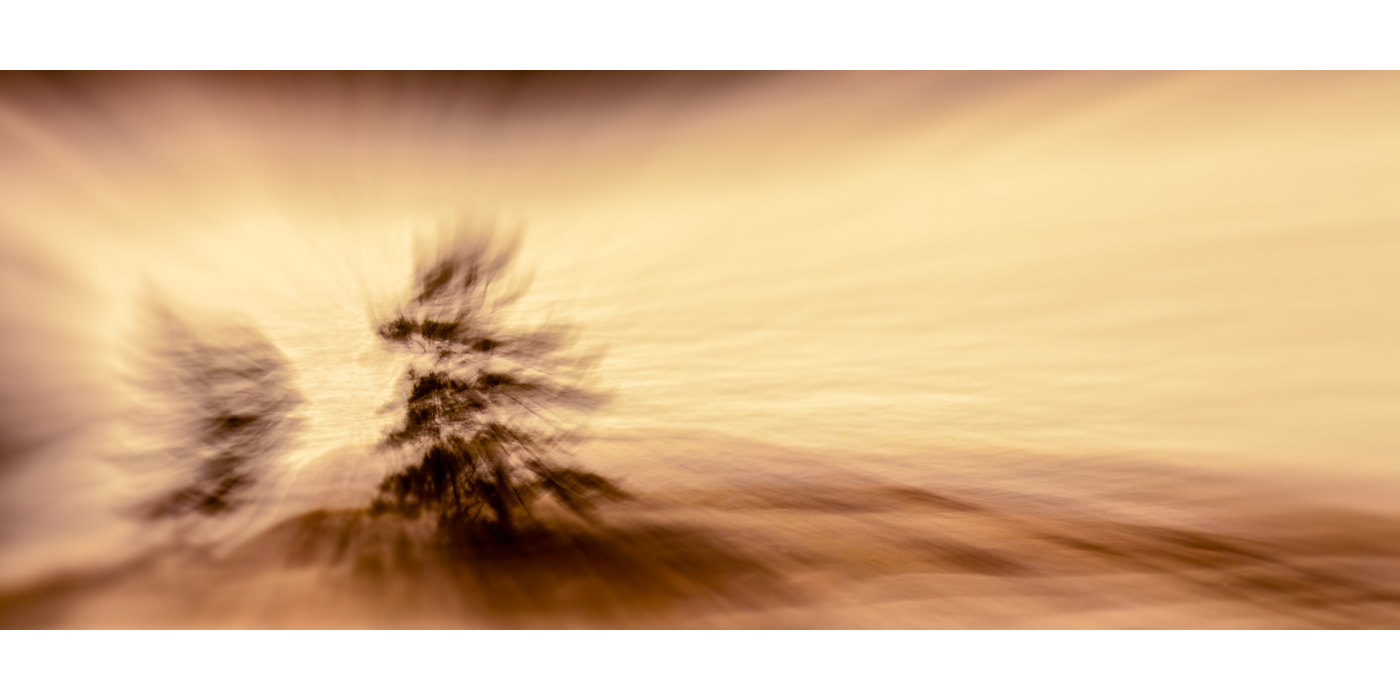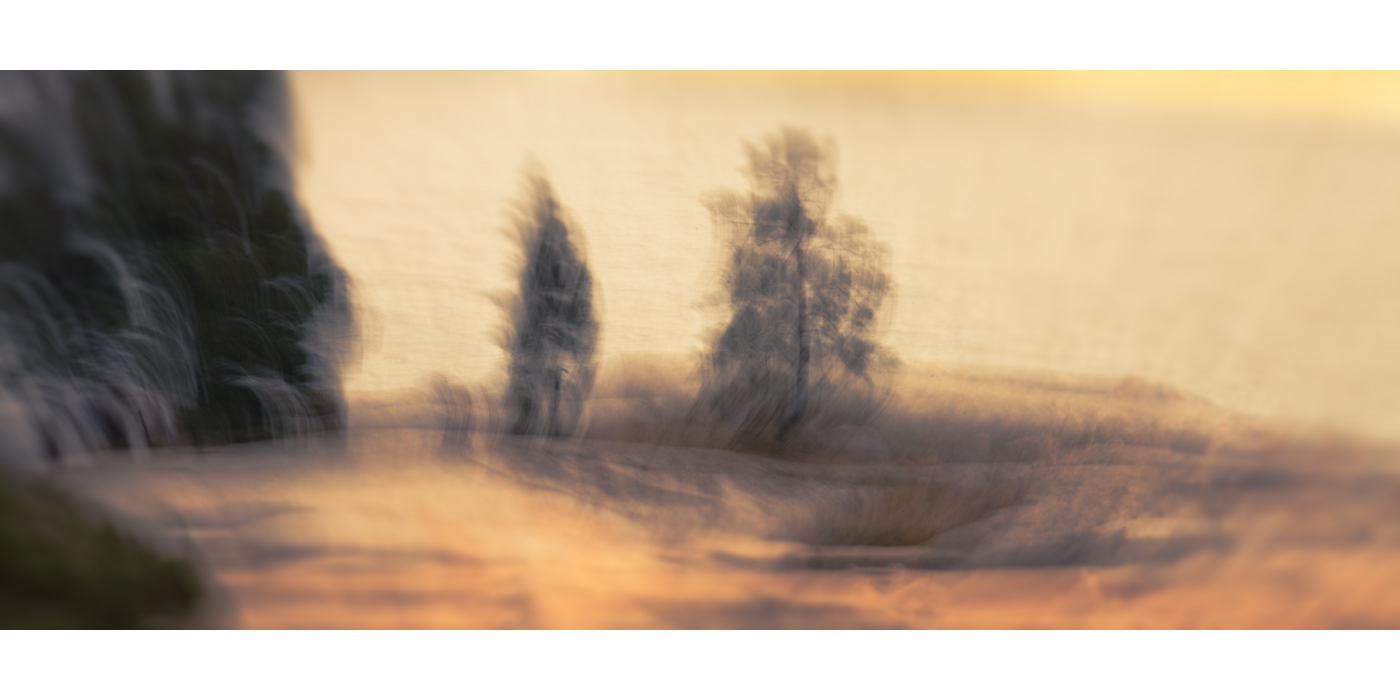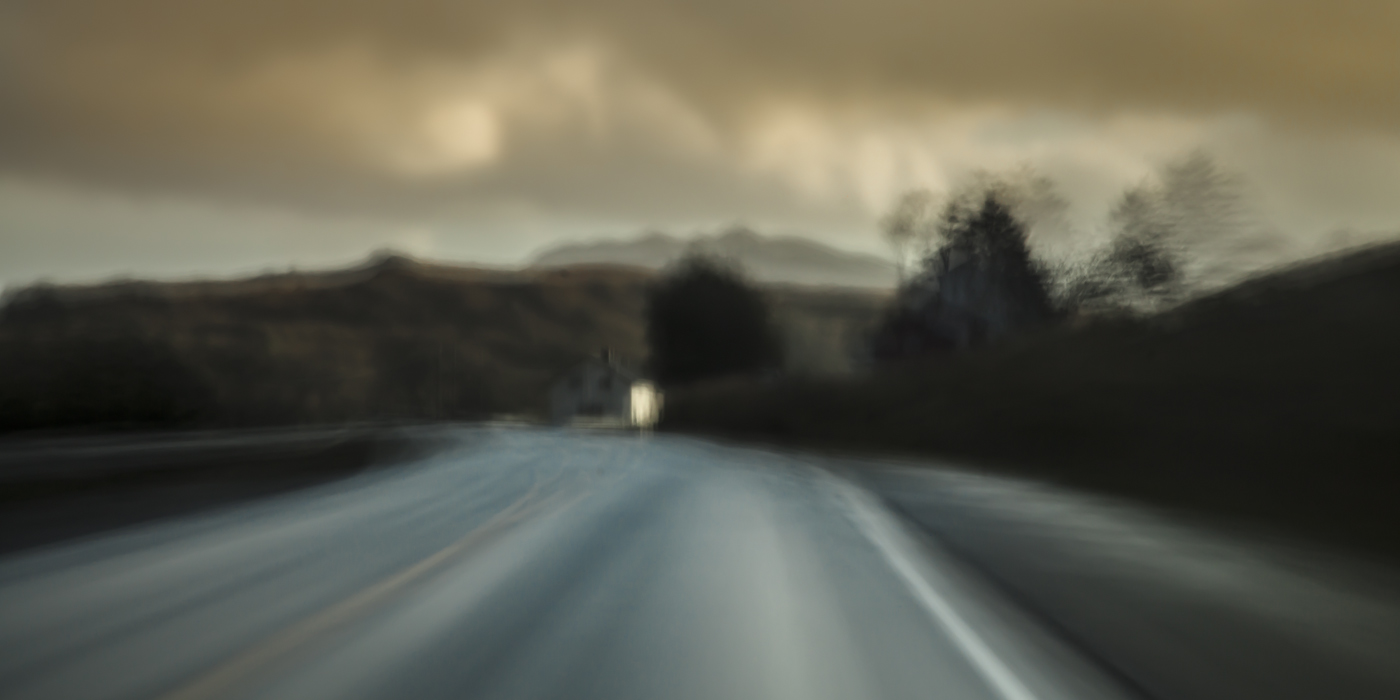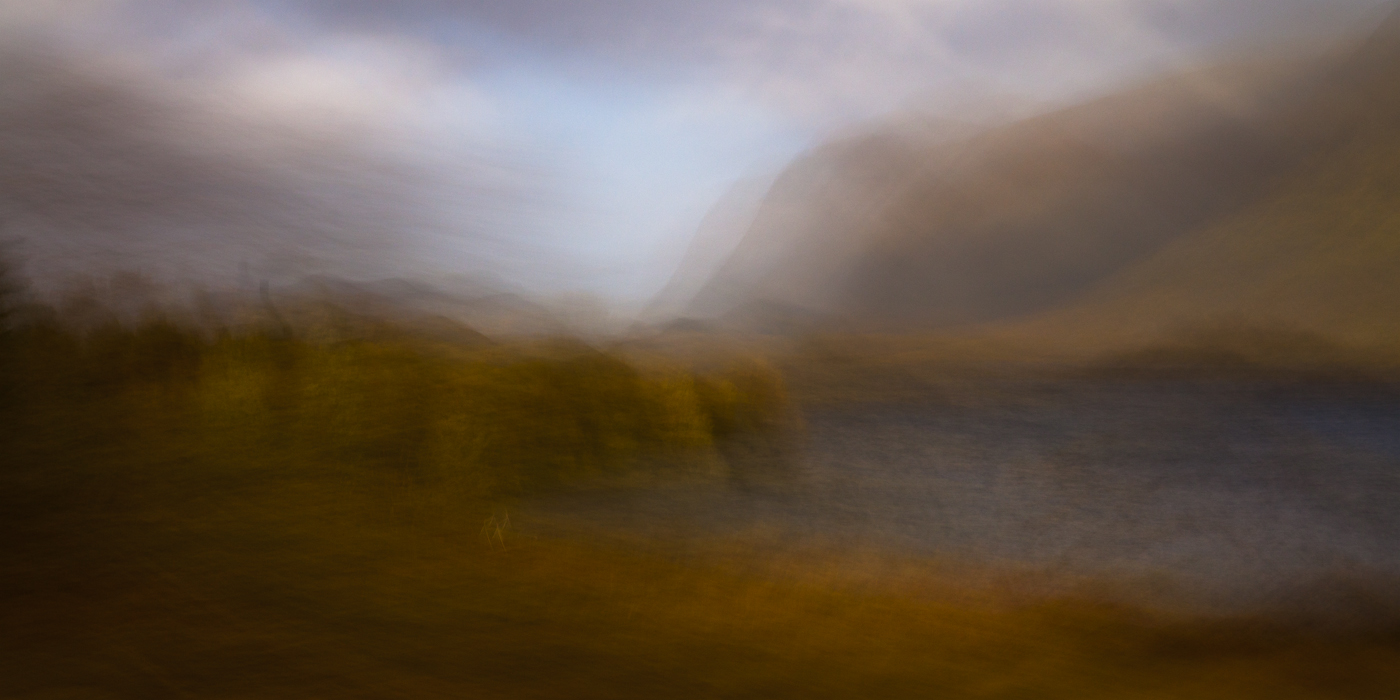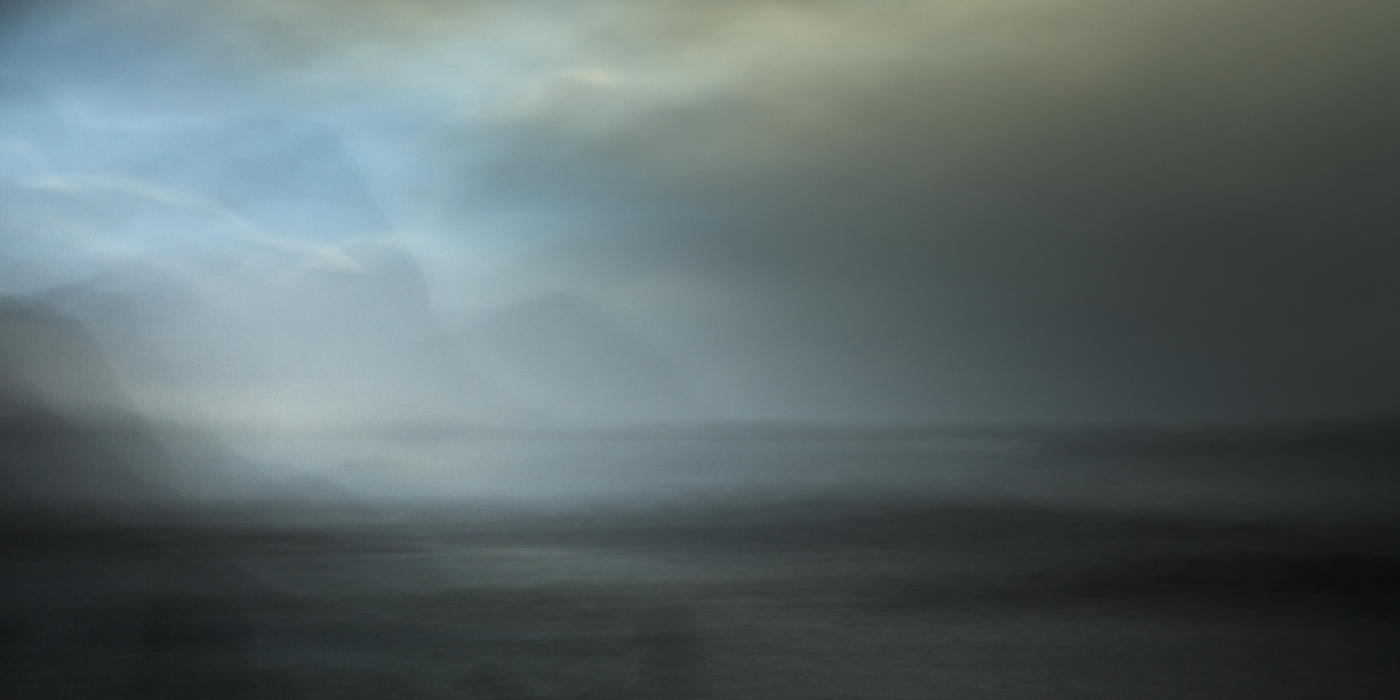

In some cases these thumbnails do not show the entire motif. Click on the thumbnail to see the full photo.
-
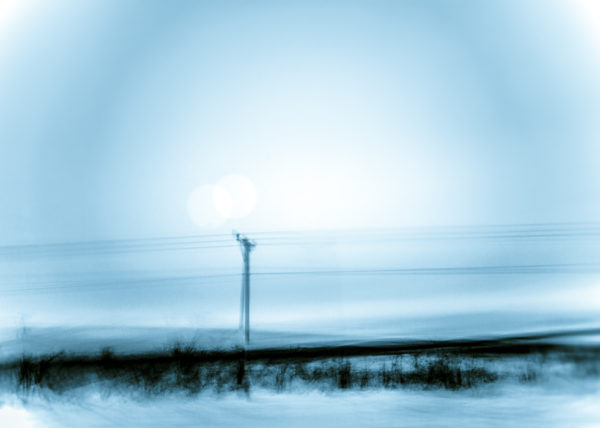
Long Exposure XXXII Aspect Ratio 3:2 (e.g. 90x60cm)
-
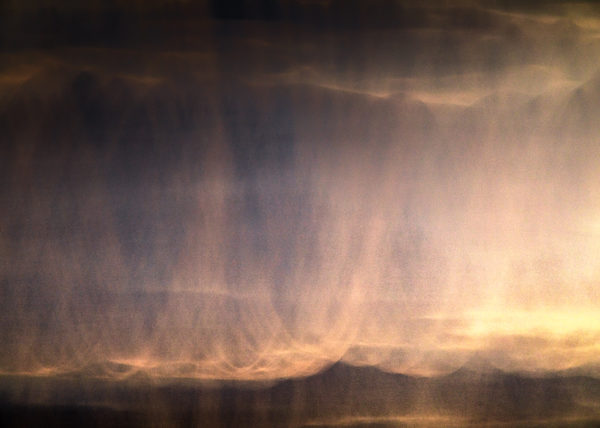
Long Exposure XXXI Aspect Ratio 3:2 (e.g. 90x60cm)
-
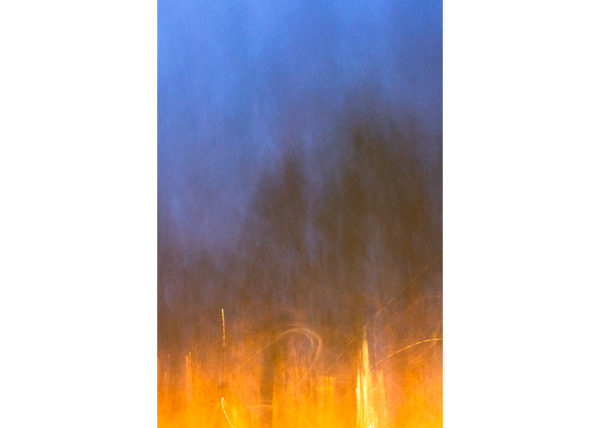
Long Exposure XXX Aspect Ratio 3:2 (e.g. 60x90cm)
-
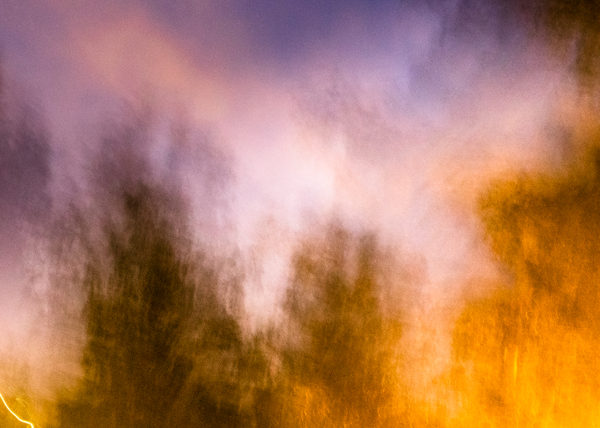
Long Exposure XXIX Aspect Ratio 3:2 (e.g. 90x60cm)
-
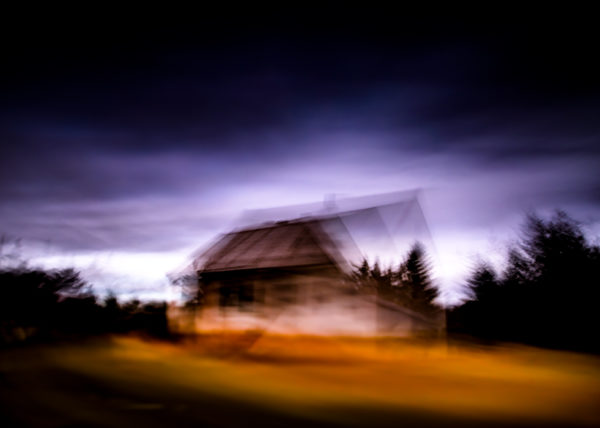
Long Exposure XXVIII Aspect Ratio 3:2 (e.g. 90x60cm)
-
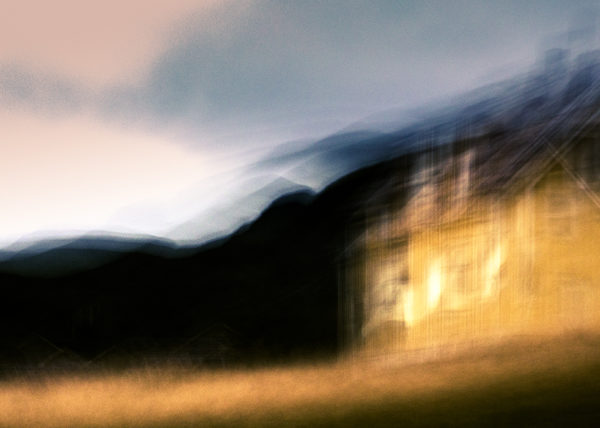
Long Exposure XXVII Aspect Ratio 2:1 (e.g. 60x30cm)
-
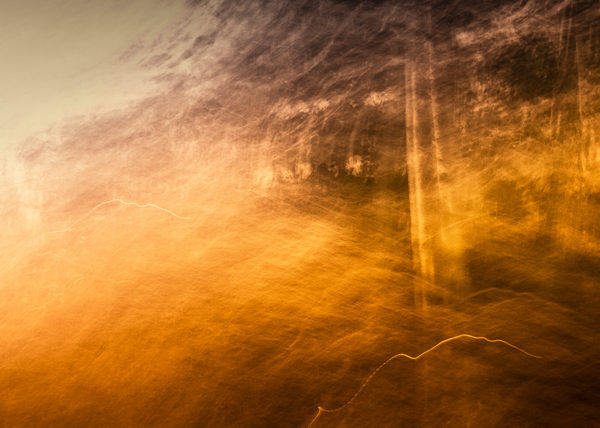
Long Exposure XXVI Aspect Ratio 2:1 (e.g. 100x50cm)
-
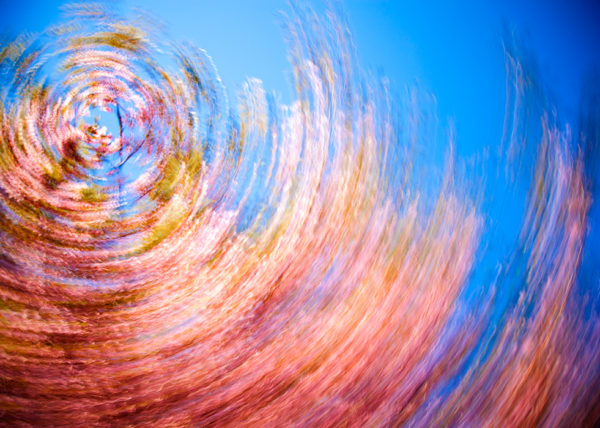
Long Exposure XXV Aspect Ratio 3:2 (e.g. 90x60cm)
-
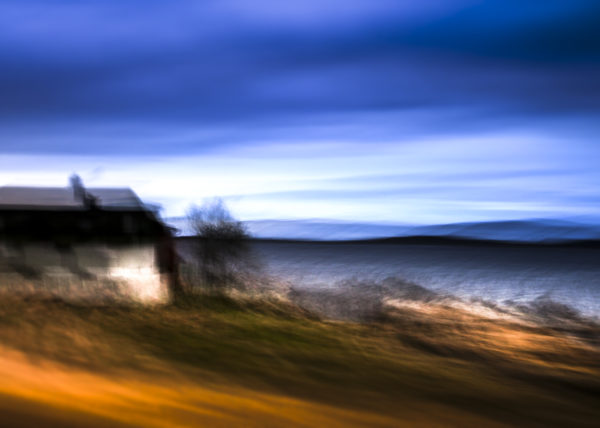
Long Exposure XXIV
Aspect Ratio 2:1 (e.g. 100x50cm) -
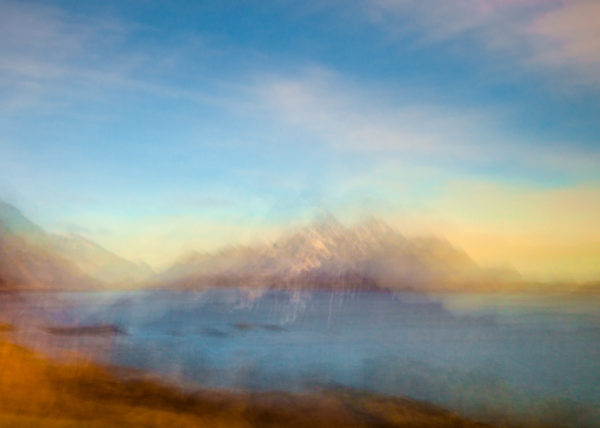
Long Exposure XXIII Aspect Ratio 2:1 (e.g. 100x50cm)
-
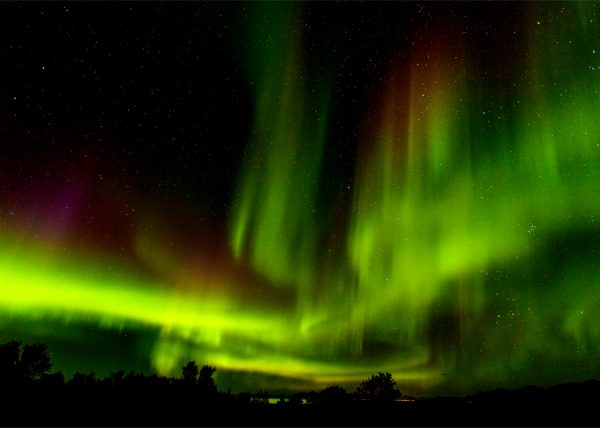
Long Exposure XXII Aspect Ratio 3:2 (e.g. 90x60cm)
-
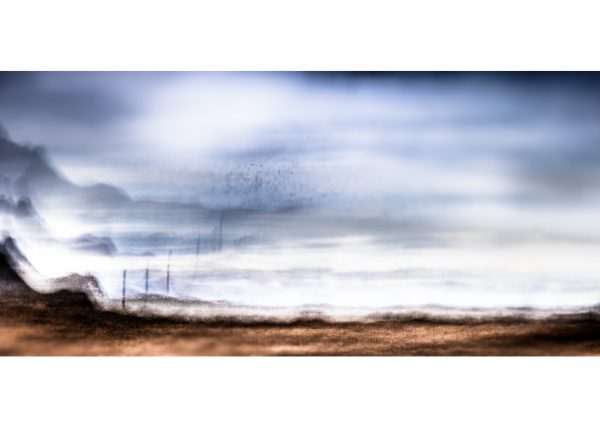
Long Exposure XXI Aspect Ratio 3:1 (e.g. 120x40cm)
-
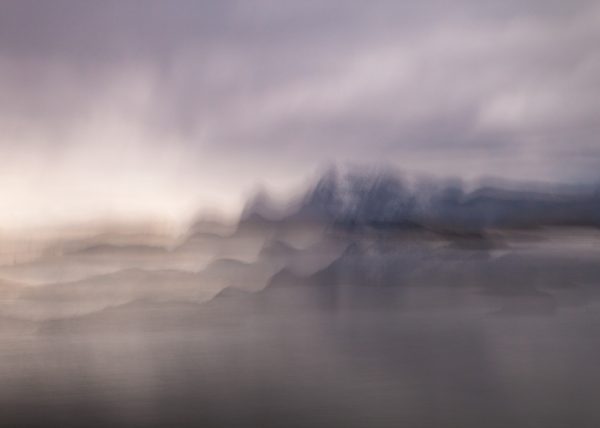
Long Exposure XX Aspect Ratio 2:1 (e.g. 100x50cm)
-
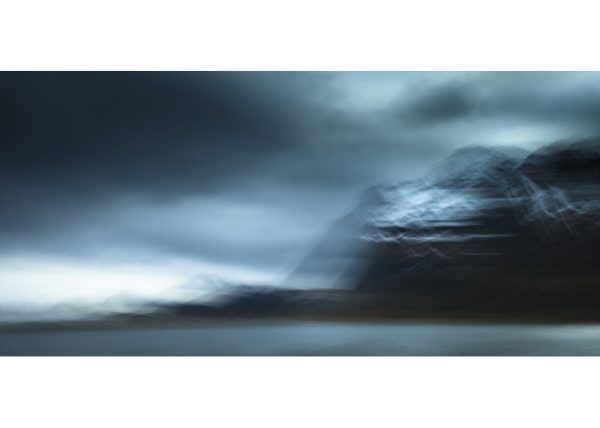
Long Exposure XIX Aspect Ratio 3:1 (e.g. 90x30cm)
-
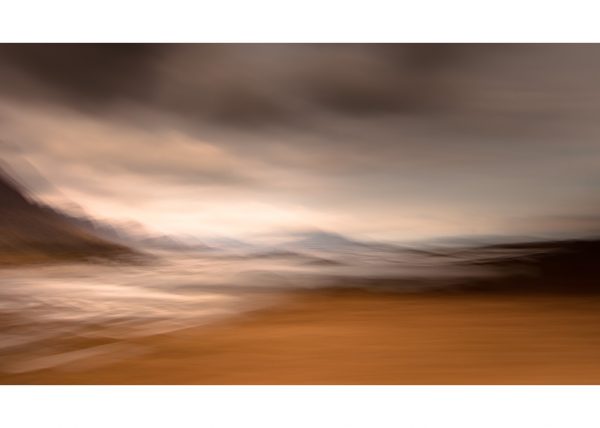
Long Exposure XVIII Aspect Ratio 2,5:1 (e.g 100x40cm)
-
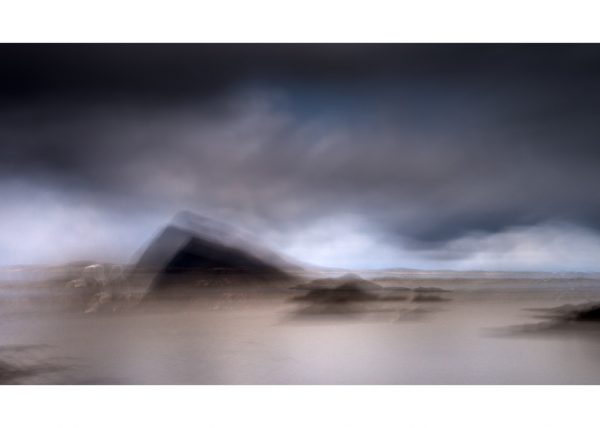
Long Exposure XVII Aspect Ratio 2,5:1 (e.g. 100x40cm)
-
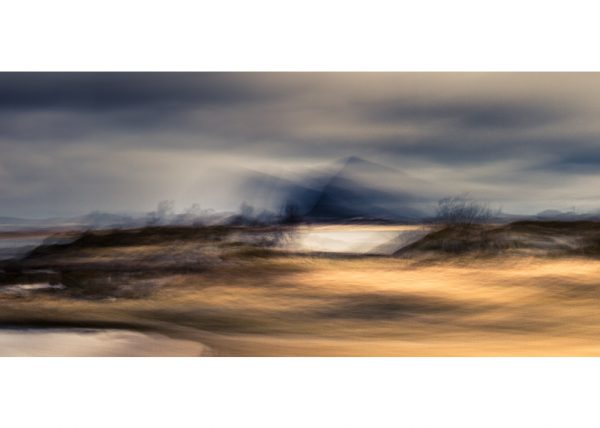
Long Exposure XV Aspect Ratio 3:1 (e.g. 90x30cm)
-
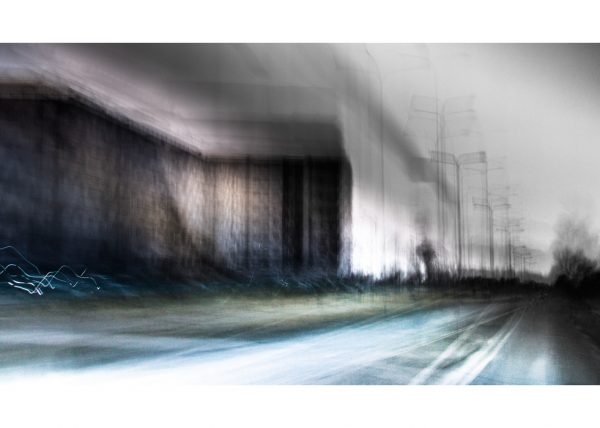
Long Exposure XIV
Aspect Ratio 2,5:1 (e.g. 100x40cm) -
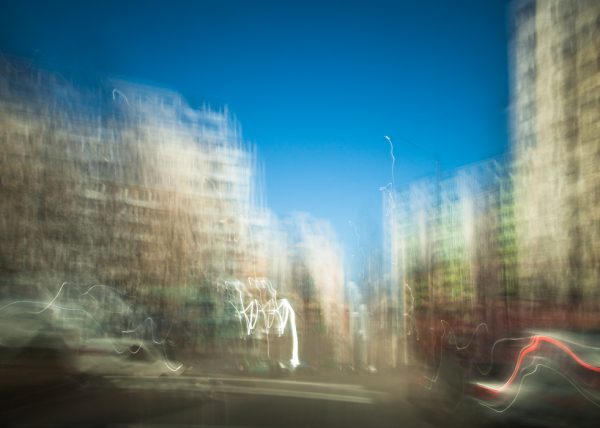
Long Exposure XIII
Aspect Ratio 3:2 (e.g. 90x60cm) -
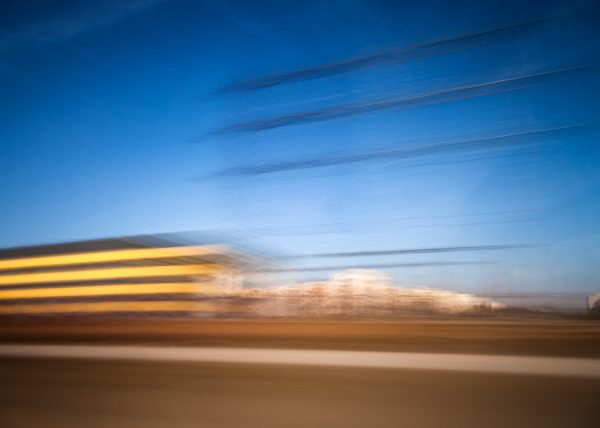
Long Exposure XII
Aspect Ratio 3:2 (e.g. 90x60cm) -
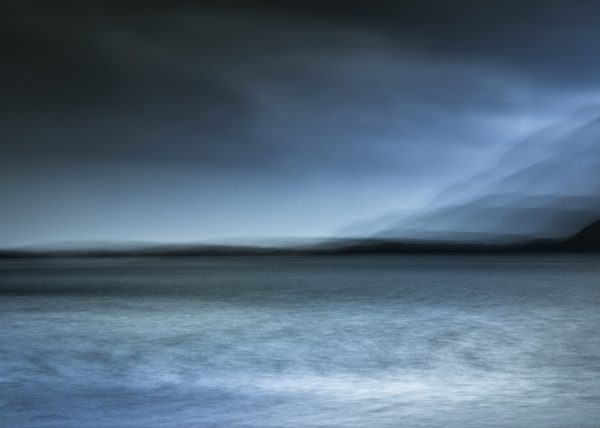
Long Exposure XI
Aspect Ratio 2:1 (e.g. 100x50cm) -
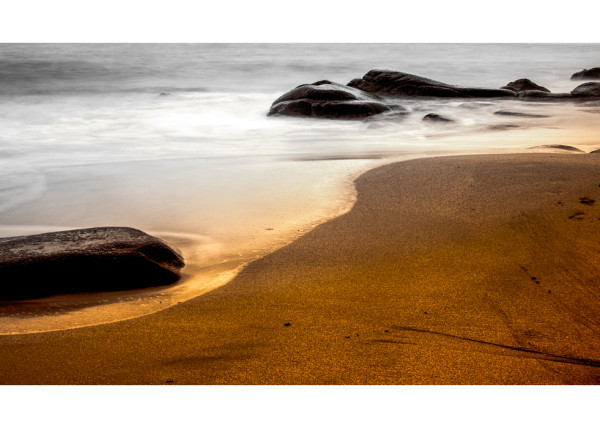
Long Exposure X
Aspect Ratio 2,5:1 (e.g. 100x40cm) -
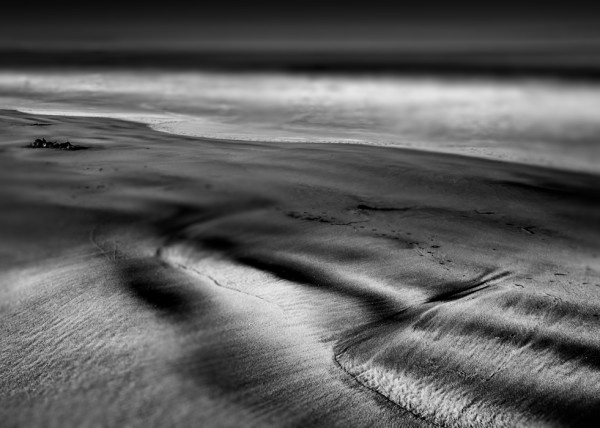
Long Exposure IX
Aspect Ratio 2:1 (e.g. 100x50cm) -
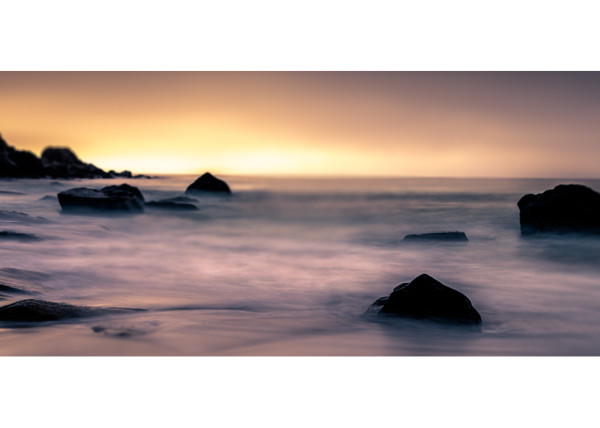
Long Exposure VIII
Aspect Ratio 3:1 (e.g. 90x30cm) -
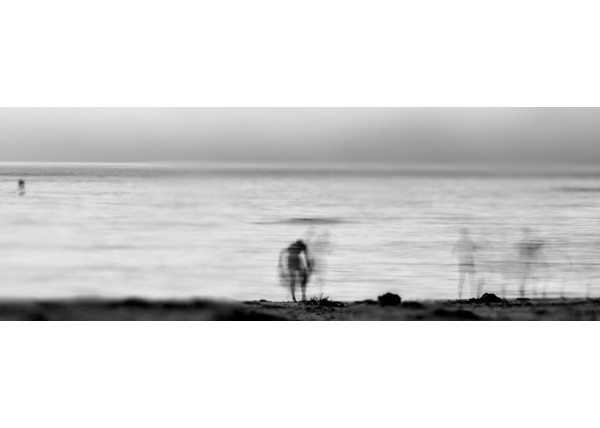
Long Exposure VII
Aspect Ratio 4:1 (e.g. 100x25cm) -
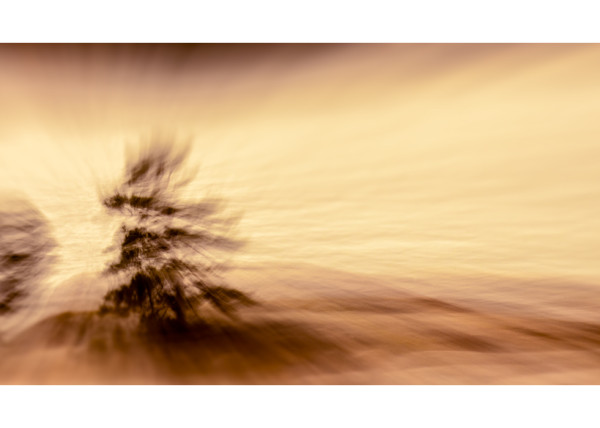
Long Exposure VI
Aspect Ratio 2,5:1 (e.g. 100x40cm) -
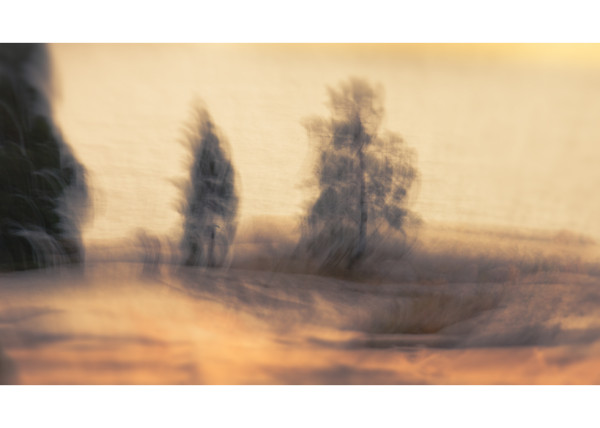
Long Exposure V
Aspect Ratio 2,5:1 (e.g. 100x40cm) -
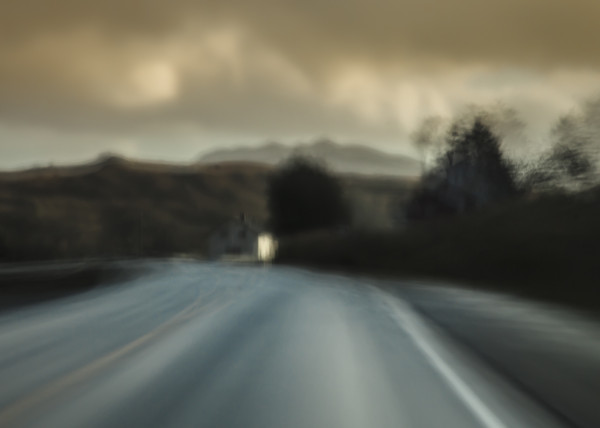
Long Exposure III
Aspect Ratio 2:1 (e.g. 80x40cm) -
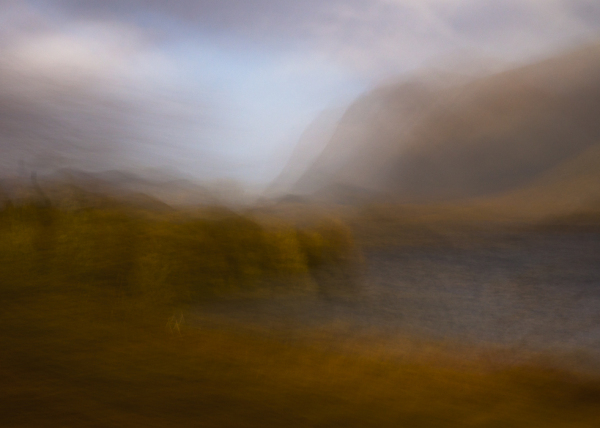
Long Exposure II
Aspect Ratio 2:1 (e.g. 100x50cm) -
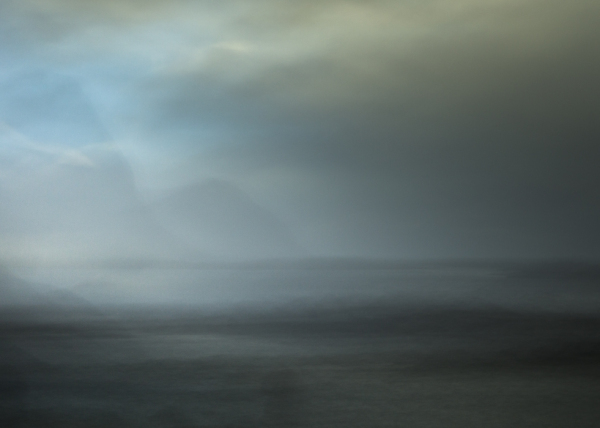
Long Exposure I
Aspect Ratio 2:1 (e.g. 100x50cm)